Leaderboard
-
bushytails
Members7Points189Posts -
pontoontodd
Members4Points2653Posts -
sirtokesalot
Members4Points843Posts -
moosens
Members3Points7876Posts


Popular Content
Showing content with the highest reputation since 04/02/26 in all areas
-
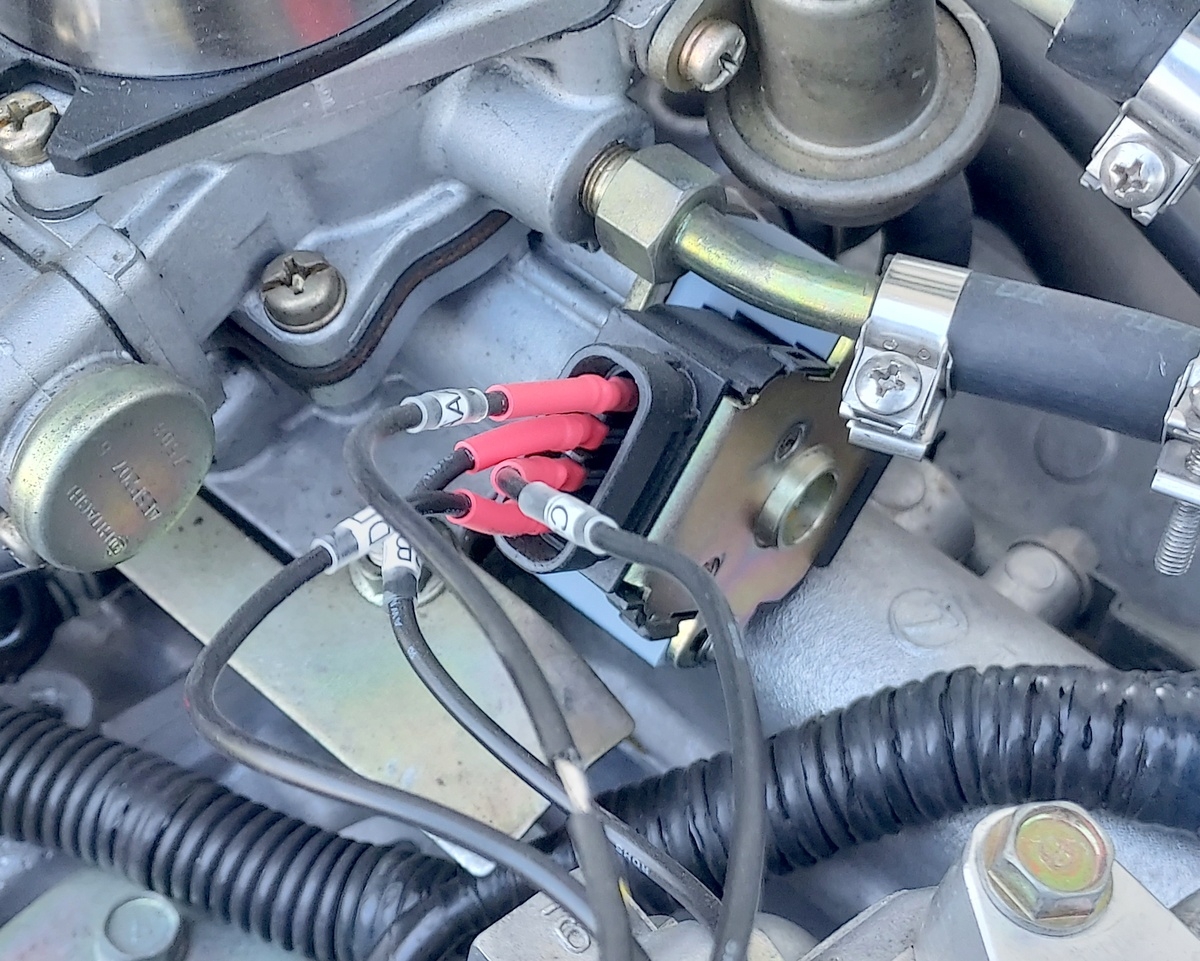
I'm quoting my own post from 2025 because I have since revisited the question of using a SERA484-10 4-wire throttle position sensor as a $30 alternative to the OEM TPS that, when available, sell for over $300 (if you are lucky enough to find one). It's not a quick PNP solution but it is working for my 1987 EA82 DL wagon with the SPFI engine and not that difficult to install. The functions of this substitute TPS are all a mirror image of the OEM part and it even had the Hitachi logo on the plastic case. By mounting the TPS upside down, and creating a new mounting bracket, I was able to make it work quite well. I have about 150 miles on it so far with no issues. The idle switch is still adjustable and functions properly. The resistance range at idle and full throttle are easily within the range of the factory service manual recommendations. I will clean up the wiring in the near future but for now, I have simply made a set of jumper wires to go between the old TPS plug and the new TPS body as the 4-wire plugs are not compatible.
 2 points
 -
We thought we had prerun the rear diff and suspension swap on Bs Forester as best we could so we did that last weekend. Definitely seemed like it was time to swap the rear diff, it has been making noise (pinion bearing?) for a couple years now and there was more debris on the magnetic drain plug than usual. Everything went smoothly until we got to the rear diff bushings. They weren't completely shot but they almost certainly have 300k miles and 25 years on them and this would be the time to replace them. We tried the hollow hydraulic cylinder again but for some reason it didn't have as much stroke as it should and we couldn't see an easy way to bleed it or add oil. Then the threaded rod we were using snapped. At this point B suggested just removing the subframe. He was able to break loose all four bolts but then three of the four nuts started spinning inside the frame. So we hole sawed in from the top to get at those. That wasn't too bad but we cut into a vent line for the fuel tank so I replaced/rerouted that one later. One of the subframe bolts had a big shoulder on it that fit the subframe bushings fairly well, the other three were just 12mm. We used new bolts, anti seize, sleeves for all four bolts to fit the bushings better, washers and nylocks on the top when we put it back in. Pressed the bushings out and the new ones back in. Even in the 20 ton press removing the bushings took some effort. Reassembly went fairly smooth. B said the drive home was mostly good, pulling to the left which slowly seemed to improve. We were barely able to assemble the brakes with new pads on his worn front rotors we used in the rear, one of them was definitely dragging some. The next week he said everything was working alright and then suddenly on Wednesday it wouldn't rev over about 3000RPM, even in neutral. He tried a different fuel pump, the flow and pressure seemed good. Replaced air filter, plugs and wires, and tried a couple different coil packs, no improvement. He drove it to my house and we did some more troubleshooting. If anything the OBDII indicated it was running rich when it would stall and everything else seemed to be working properly (MAP, TPS, etc). Slammo suggested maybe the cats were plugged so we unbolted those. The front cat was empty. Fired it back up and revved out fine. Figured the plutonium from the front cat had plugged the rear cat so we tried backflushing it with compressed air which did nothing. Then tried backflushing it with the garden hose nozzle, not a drop came out the other end. B's hypothesis is that when we got a bunch of rain this week the moisture in the exhaust turned the plutonium dust into mud and completely sealed off the rear cat. He cut it out and welded a piece of tubing in its place and it runs great now. We also bled his rear brakes and replaced his HVAC fan switch with one that works better and did some other little things. In the meantime I changed the oil, oil filter, and air filter and charged up the AC on the Impreza and did a few other things. It's been awhile since I changed the air filter. That picture makes it look a lot worse than it was, there was just a ring of leaves at the end, filter itself wasn't too bad but I put in a new one. It has been running consistently cool now since the lower temp thermostat and hose rerouting and I think I've fixed a few small coolant leaks.2 points
-
2 pointsOof, the hits keep on coming. Between life happening and that stint where the forums were down - I hadn't had much time to update this, but today I took the time to get things moving a bit again. Long story short - I decided the simplest thing to do to solve the rubbing problem as it currently exists was to cut the tack welds and shift the whole subframe back about an inch, rather than doing a whole bunch of complex bodywork. My bodywork skills are definitely not my stronger suit, so I figured I'd better make things fit to what's already there as best I can. While this job was harder than I thought it was going to be (I had to cut out a larger section of the bed to get my cutting tools in there), the wheels now sit squarely (loosely) in the middle of the arches. To continue the spirit of solving a problem by creating new problems to solve, now I have to modify the original rear diff crossmember to make up for the distance the entire assembly has moved. Probably going to knock that out in the next couple days. Basically for that I'm going to cut some chunks out of the existing crossmember , then offset them with lengths of rectangular or square tubing of similar cross section. It shouldn't be too difficult because the stock part is basically a piece of straight U-channel with bushings mounted through it. No weird bends or offsets to be had so as long as I modify it so the threaded holes move directly rearword, it should be a pretty quick fix. Once that's all done it'll be a temporary modification of the stock lateral links to bring everything a little tighter in towards the frame, then I'll get started on fabricating the strut mounts in the bed, and probably remeasuring everything to see about finding an off-the-shelf set of adjustable lateral links and trailing arms that fit, and then another semi-permanent modification of the rear CV axles to get those back on. I'll likely need to revisit the wheel arches in some form or fashion, but I'm hoping I can get away with just some good ol' fender rolling. Time will tell.2 points
-
3 hours start to finish engine trans diff driveshaft axles mirrors ecu tcu fuel pump radiator and condensor out. nothing els worth keeping. and thats including driving it out of the woods and cleanup time.2 points
-
Different weights/viscosity definitely affect handling! There is a big chart online someone put together that breaks down the actual viscosity of different brands and "weights" (which is apparently a pretty arbitrary thing) of shock oil. In the Subarus we used the Fox JM2 oil but it is expensive so recently we've been using Sunoco Sunvis 1015 or Glacial Blu by Kendall. Those three are fairly equivalent. In your specific case I really don't know.1 point
-
Got the AWD box and if you decide to get a dual range version it’ll bolt straight in place of the single range gearbox ;) Really though, if you don’t go offroad, you don’t need the dual range. Plus the shipping will be more than the gearbox will cost you! My thought on the rear subframe would be to cut the mounts to the body and relocate them to where you want them to be on the chassis rails, maybe even pick up the old diff hanger bolts. Leave everything else so it’s all stock geometry to work with. It’s not a wearable item so once it’s sorted you don’t need to replace it for the life of the vehicle. Well this is the tricky bit. Each state is different in what they require. Here in Victoria you need to find an engineer that’s on the approved list with Vicroads, our vehicle department. Then you need to meet their requirements and they may change a bit between engineers. I do know that any welding needs to be certified as done by a qualified welder. Brake changes may need a performance test for stability. Using a complete swap like you are makes that easy. It’s the welding of brackets for major components that trips us up here. Same for things like the transmission tunnel grafting. Can be done, but you need to discuss with your engineer about how you’ll do it and they’ll let you know if they’re happy with it. Of course, the more you modify, the more engineering generally costs - and you want to get EVERYTHING modified on that report, otherwise road authorities can pick you for things they find that aren’t on the list if you’re pulled over and they decide to inspect your vehicle. Doesn’t happen often, but it’s something they can do if they want. Once engineered, you need to carry a copy of the certificate/report with the vehicle at all times. And further modifications need to be engineered, so you really only want to do it once then enjoy the vehicle! I heard of one model like yours that someone over here crammed a wrx drivetrain into and got it engineered. Not sure which state they were in, maybe Queensland… My 1990 brumby will end up WRX swapped, but without cutting chassis rails to do it like everyone else. It’s halfway there in a rusty old halfcut with everything dummies up. Engine and wiring loom all works which was a big hurdle with the cut down (my third, first turbo though). I wish my gearbox mount was as easy as yours to make too! Sorry for the long post! Good to see your progress and hopefully you have it back on all four permanently soon!1 point
-
1 pointWould be for 1975-79 4WD Wagons and 1977-81 Brat 1600 EA71 Top starter location is the give away. They’re fairly plentiful for their age. I scrapped and gave away several and now still have at least two sitting around.1 point
-
Okay. Sketchy repair maybe (because I don't know 100% what I did) but it is running as well as it ever has. I set out to shoot a short video of the issue last night and decided to check the IAC one more time. It is NOT a b-metal control. It is an on-off solenoid that has the flow metered by a small adjustment screw that is in the throttle body, not in IAC itself. That screw allows minor adjustments to the idle speed while the IAC is active. I turned it in a few revolutions and then backed out to the same spot where it was. I went to start the engine and then do the same adjustment while it was idling but nothing else was required. The engine started as well as ever but never stuttered or bogged down. It idled perfectly and I've now driven it about 45 miles with zero issues. Maybe the port was blocked inside and turning the screw opened up something that has been blocked or too restricted. It runs like a champ now so we'll see if it ever repeats again. The really cool part about all of this is trouble that I figured out a way to use those reversed TPS sensors (SERA484-10) that others have experimented with. I'll detail that in another thread.1 point
-
1 pointTach jumping around could mean the pickup module is going bad or the shaft in the distributor has excessive wobble due to worn bushings. I'd toss my MODIS on it and go for a test drive if it were mine, but that's hard to do over the internet...1 point
-
1 pointYep, will we ever learn? One wonders doesn't one! Bill Rigsby - Florissant, CO - 8,213 feet 1982 Brat1 point
-
1 pointBar the engine over until the timing marks are visible in the access hole on the bellhousing, wire brush both the flywheel and the pointer, then use a white paint marker to mark the 8 degrees BTDC line. Set timing at idle with the vacuum hose(s) to the distributor unplugged. Set idle speed before setting timing. If idle speed changes while setting timing, re-adjust, re-set timing, etc. But, a miss isn't usually timing. Too advanced timing causes pinging before it causes misses, and too retarded timing causes power loss without misses. Check plugs, wires, cap, rotor in good condition, then look at mixture. A 'scope on the primary is also a quick check for ignition misses.1 point
-
You only find plutonium in select delorean cats, not subarus...1 point
-
Yes. 4th gens were available with the 2UZ 4.7l. Mine is a 1st gen, though. I have a 4.0 1UZ in it. Install is far from complete, but it runs and drives (no cooling system, so very briefly).1 point
-
1 pointHey all, just started doing rallycross events in Washington/Oregon with my stock 1988R RX. one event under my belt, & put the old girl through the paces! was on track to place 4th of 10 in the stock AWD class till i spun out in a corner transitioning from a field to asphalt, ended the day at 7th. Don't suppose there's anyone in here that goes to the NWRA events? I'm doin my best to keep the RX in the stock class for this year, tired old EA82t starts acting weird when it gets hot (190-205). next race is in Spokane in May, if you're there, stop by and say HI! i'll be camping at the track Fri & Sat nights.1 point
-
well i started i opted to just unbolt the trans and pull em seperatly. stripping a car is so much quicker when you dont care about the car the parts are coming out of.1 point
-
i do not have a lift im honestly not opposed to cutting the subframe and radiator support ither. as far as junk yards not many left. chuck and eddies is prety much the last pick and pull i know of. boyds in norwich will still give a good price on a stripped out car. there wont be much left in this one thats still good. the driveline was the only good part of the car.1 point
-
Wife and I went on vacation for 11 days through AR, OK, and TX. Didn't really plan on doing any off roading but it's kinda hard to avoid in AR. Met up with slammo for a day in his RAV4 prime. On our way to the beach in TX looking for the camping area he got stuck in soft sand. With the folding recovery ramps and a couple straps I was able to pull him out. Before swapping in a lower temp thermostat, engine seemed to plateau at about 215F CTS / 200F upper radiator temp while driving. If left to idle for a while it would slowly climb up (small fans kick in at 215F) until the large fans kicked in (220F), then they seemed to run indefinitely. Yesterday B came over and test assembled as much as he could of the billet knuckle conversion. Got his pair heat treated and painted. Bore for the long bolt/stud being tight was the biggest issue. I got a couple different ball hones but neither of them seems to remove material very quickly. Calipers with new pads seem to just barely fit his worn front rotors. He already swapped new ones on the front. We also had all of the lateral links painted, he got those anti seized and assembled. My main plans were to figure out the wiring issue on the Impreza and swap in a lower temp thermostat and bleed the coolant. On our recent vacation the delayed accessory power stopped working. Was still getting some voltage from its main battery feed but not enough to actually power anything. At the time I just hotwired it to the stock cig lighter. Turns out it had blown a fuse in the underhood fuse box, not sure if I checked those during my initial diagnosis. Cleaned up the wiring a bit put it back to how we had it and seems to be working now. While I was draining the coolant I had the bright idea to replumb the Ford heater cores we'd added under the hood. It seemed that with both of them in series on the heater core circuit the second one wasn't doing much, the first one seemed to cool it almost to ambient temp, and that circuit is a pretty small portion of the coolant flow. So I decided to plumb one of them into the circuit that goes through the oil cooler, figuring that would also cool the oil better. When I started I didn't realize those fittings are about 1/2”, not 5/8” like the heater hoses and cores we'd added. So I made up a couple of barbed adapters on the lathe (one of them in top of picture). It was a bit of a pain to get the hoses routed but I think it turned out fairly well. Then I drilled a 3/16” hole in the top of the 78C (172F) thermostat and swapped that in. I'd had a stock 82C thermostat in it. Got a bleeder funnel recently too so we used that, no idea how much better that works than the normal method of just filling it up and driving. This all seemed like an improvement. When idling for a long time it would still eventually get up to 215F but once the small fans kicked in it would cool back down to 210F (where the fans shut off) and then slowly go back up. The only issue we noticed was the heater core circuit wasn't getting hot or even warm. I pulled various hoses off in that circuit with the engine running and just a trickle of coolant would come out at idle. I pulled both hoses off at the engine and backflushed it with compressed air and it seemed to flow great. Heater had been working great before all this. Eventually I just decided to drive it and hope it fixed itself. Which it pretty much immediately did. Maybe just needed some revs or jostling around to bleed. Regardless, it now blows hot air when you turn the heat on and both heater cores underhood get hot. Also seems like it takes less time for the little fans to bring the temps back down. While driving the temps seem to plateau at about 200F/180F so that also seems like an improvement. Will drive it a bit like this, maybe lower the fan temp at least for the small fans.1 point
-
Could be a broken cam between 1 and 3.1 point
-
1 pointHello all! 1st post here, just picked up a new to me 1988 RX with EA82T a couple months back and trying to keep it running well enough to get a full season in the stock class at he local NorthWest Rally Cross in WA & OR. So far, i've put a new exhaust, new wheel bearings all around, ball joints, new rotors up front, pulled oil pump and replaced all seals, replaced a handful of vacuum & water lines, chased a few electrical issues including a burnt up fan resistor that nearly caught the car on fire due to all the left over rodent seeds left in the vent lines, & added boost gauge. i'm getting 110+ compression on each cylinder if i recall correctly, checked that just after i got it and forgot the numbers since. currently fighting what seems to be a sticky valve? went for a test run up a near by mountain road, lots of turns, roughly 9-10mile climb, pushed it fairly hard up the hill. once at the top i had to go downhill a bit before a good turn around point, ran this at low RPM, turned around, and on the short hill climb at 3-4k RPM, the engine had a hard pop (sounded like a backfire/detonation), followed by a muffled brrrrrrrrr sound for a second or two, getting worse every time i put on throttle and complete lack of power. let off the throttle, idled down & down shifted, power came back and problem never returned. at the top of the hill i was at about 190-200 deg F. drove very light the rest of the way back down the 10 mile decent and got the temp back down to 185ish. checked the oil, it was not milky, coolant also looks good, however, my intake manifold has quite a bit of thick oil build up throughout - i'd say about 1/16-1/8th inch of sticky oil buildup throughout. I'll be going through the PCV breather system soon to see if there are issues there, and likely replace the turbo as well just to be safe (it does boost well, i just suspect it leaks oil). probably worth pulling the intake off and giving it a good clean. Any suggestions on common causes for the oil build up in the intake? would an Air/Oil seperator be worth adding, if so, any particular one work well on the EA82T? Next up would be my oil. it goes black and runny really fast, and a quart disappears fairly quick as well - doesn't smoke a ton when running (a little at a cold start, then smooths out), no oil in water, and it doesn't leave puddles in the driveway. currently running 10w30 high mileage Valvoline. next oil change planning to jump to 10w40 same full synthetic Valvoline - unless someone can give me a good recommendation on what they've had work well! the cars got 140k on it, and the engine had the top end gone through about 6 years ago - i'm just not sure how many miles it's had since then. in addition to going black and runny fast, i can get good oil pressure when the engine is cold 40-60psi, but once it's warmed up, at rev i get 20-30psi and at idle 0-5psi - this was before and after the oil pump reseal - when it was on the bench, everything looked decent. Would there be a good oil additive that could assist with the intake oil build up and help clean up my valve guides if they are getting sticky? thanks in advance!!1 point
-
Your wheel bearings are shot, the hub nut (big 36mm hopefully with a cotter pin) is loose, or both. Jack up the wheel, release the e-brake, grab the wheel top and bottom, and wiggle. If the whole axle wiggles, including the cv joint cup, your wheel bearings are bad. If just the drive flange wiggles on the axle, your hub nut is loose. Remove cotter pin, put tranny in 1st, tighten until engine starts to turn, put e-brake on, tighten until e-brake slips, lower down, tighten really bloody tight (150ftlbs), keep tightening until cotter pin goes back in. This multi-step tightening process is to make sure the drive flange ends up centered on the shaft and bearings - if you just crank it down with weight on the wheel, I've had them end up crooked. Edit: Another thing I've seen is your caliper has come loose (bottom bolt backed out) and is rubbing on the wheel, but that usually causes loud clunks and occasional lockups, not grinding and occasional lockups.1 point
-
1 point
-
1 pointI hate trying to remember things. It's not like I've done this several dozen times or anything. lol. I'll try... The thumbnail (I haven't watched the video) shows the drive flange and caliper mount removed. Don't need to do that if just doing pads. The only bolt you need to remove is the little one on the bottom caliper slide pin, then rotate the caliper up. Squeaker goes on inner pad bottom. If you use the pad from the other side of the car, the squeaker will end up on top, and gets mushed by the caliper and makes noise instantly. Pads go in bottom first, push the spring clip in so it goes in the notch in the pad, angle the top of the pad in, do the same with the upper spring clip. The pads will sit perfectly flush and solid on the rotor when the clips are all properly sprung. Any wiggle at all means one of the clips isn't in the right place. Regrease the slide pins every time you do brakes. On the top one, slide the caliper off, wipe the pin clean, coat with fresh high temperature grease (ceramic, often purple - not wheel bearing grease), put a bit of grease in the caliper, slide caliper back on. For the bottom pin, pop it out from the boots, do the same thing. Failure to regrease will cause them to get sticky and trash your pads. Work back and forth and pop boots back on once sliding nice and smooth. A bit of brake fluid also works well for lubricating the boot. Spin the piston in with any available tool until it's almost flush with the casting. Align the piston so the V notches face parallel with the claws, that is, the short way across the caliper, which will be radially in and out when the caliper is installed. When you rotate the caliper back onto the pads, there's a bump on the back of the inner pad that needs to end up in one of the notches. If you have the piston rotated the wrong way, it will end up on top of the bump, and may mush the piston or your brakes will suck until it self-rotates until it lines up. If the piston is difficult to spin in, the caliper is crusty, and may also drag. If you spin it in, then step on the pedal three times to push it back out, then spin it back in, etc, a few times, you can get it sliding a bit better. Or wear your seal out more. One or the other. Spring clip kits are still available and are dirt cheap if you need them. After you put the new pads in, and spin the piston back in, making sure it's rotated to the position where it'll sit over the bump when you tilt the caliper back down, tilt the caliper down and reinstall the bolt in the lower slider. You'll usually need to push the slider pin back a bit to get the caliper down, then wiggle it around to line the bolt up with the hole. Then, with the car off, step on the brake pedal several times until it gets solid. Then do a visual inspection to make sure the pads are still sitting perfectly flush on the rotor. Then put the wheel back on. The brakes will suck at first; I usually power brake for a little on a quick test drive. You may need to step on the pedal hard a few times to get the e-brake to adjust, depending on caliper crustyness level.1 point
-
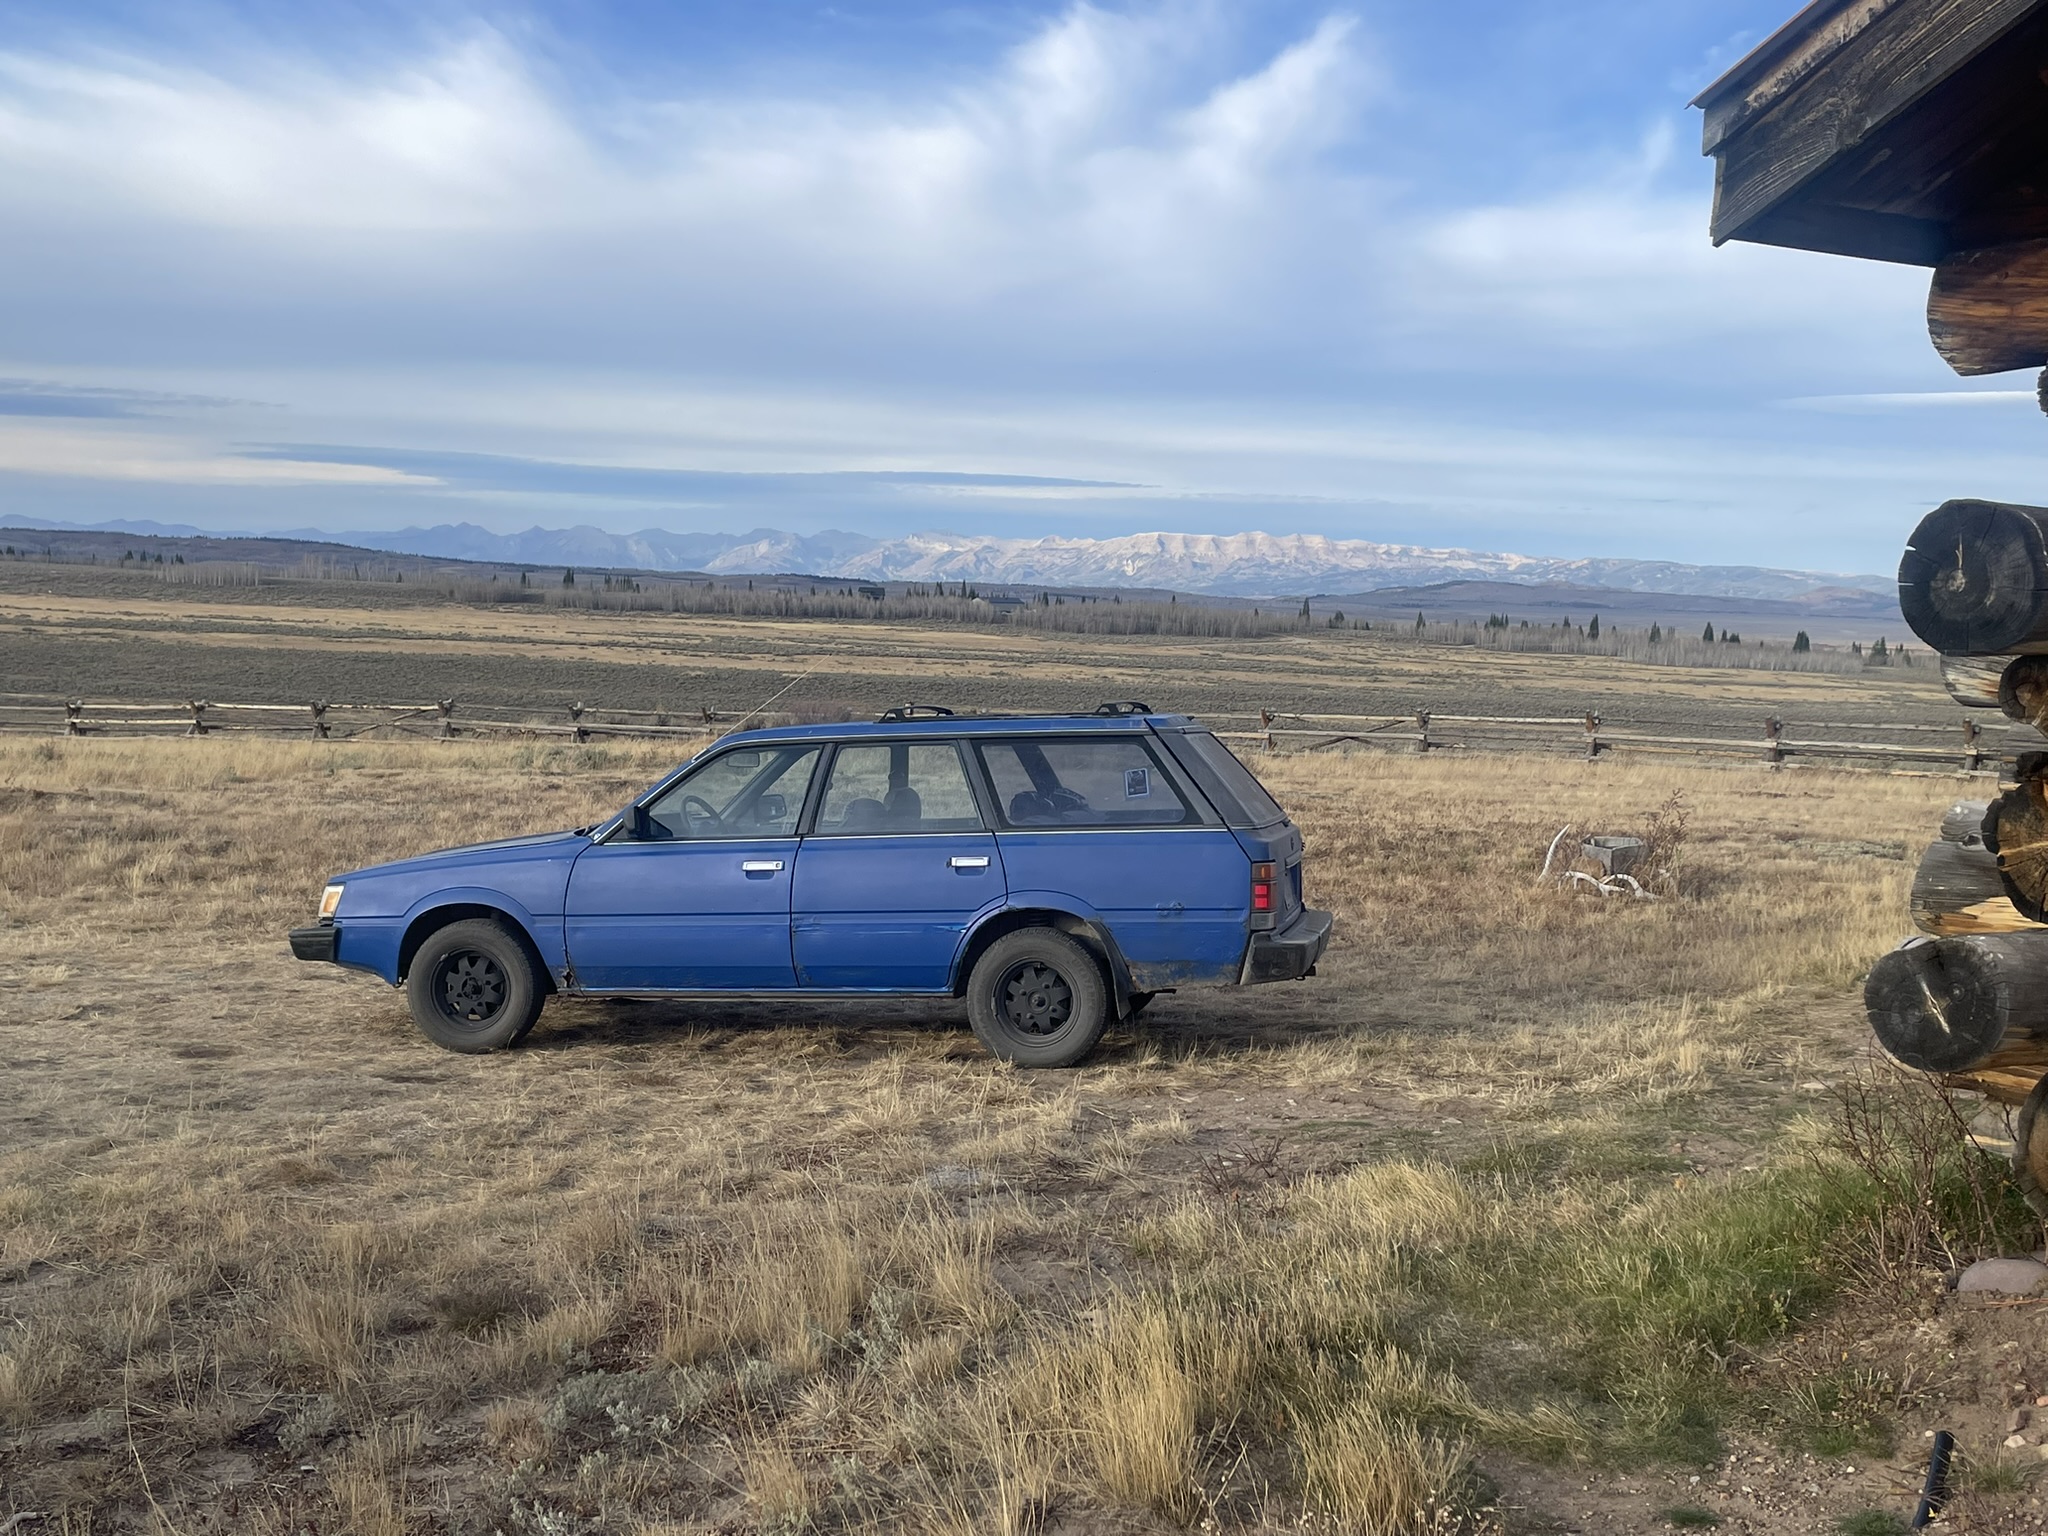
1 pointThank you. That's what I thought but was puzzled by the short life. I greased them up good and filled the cavity ten years ago but I have not greased them since and the car gets driven through icy water a lot. I ordered the new bearings and seals today. I have a seal driver set. I snowmobile in to my cabin in the winter so I'm hoping they might last until spring but I kind of doubt it. Yesterday when I cranked the axle nut enough to gain another hole in the castle nut it seemed to tighten them up a little. If they wear down and loosen up again I'll change them out. That just means that I'll be doing it in the snow on the side of the road where I park in the winter. But hey it's a $300 car that I have been driving for 15 years.
 1 point
 -
1 pointApparently the A1 Cardone distributors are not rebuilt to Ea81 Hitachi standards. I ordered a second one just for the heck of it and it performed the same way as the first. They seem to be mechanically sound, but the coil is not compatible. I pulled the coil out of my old distributor and replaced the one in their "rebuilt" one, I'm now getting good fire and it appears as though it's going to work fine. Buyer beware. Their part number is: 31-810 and Amazon and rockauto sell them as well as other outlets.1 point
-
1 pointI used to rebuild these with bushings from a small machine shop. Definitely worth rebuilding, as the Hitachi electronics will last indefinitely. As opposed to the Mitsubishi distributors, usually found on 2wd models, which will wink out without warning and leave you walking... don't ask me how I know.1 point