nvu
Members-
Posts
352 -
Joined
-
Last visited
-
Days Won
13
Content Type
Profiles
Forums
Gallery
Store
Everything posted by nvu
-
This sounds way too familiar, I've had a freshly rebuilt 98 sohc skip 6 teeth on the first test drive. It fired up and idles perfect the first two days as I was putting the rest of the car back together. Then on the first test drive, gave it the beans and it was barely idling. Reset the belt the following week and it never skipped again, it's been 5 years now no belt issues.
-
leaking rear diff
nvu replied to evor1's topic in 1990 to Present Legacy, Impreza, Outback, Forester, Baja, WRX&WrxSTI, SVX
Yeah, the cover gasket almost never leaks. At least top up the fluid and see how much was missing. -
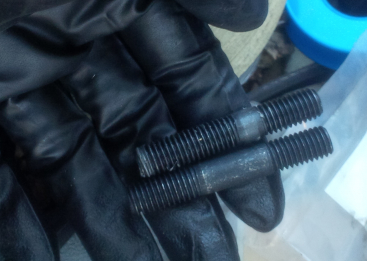
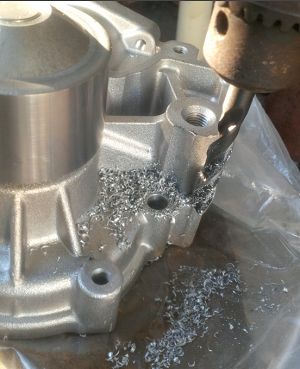
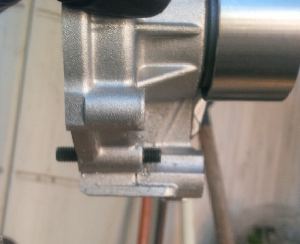
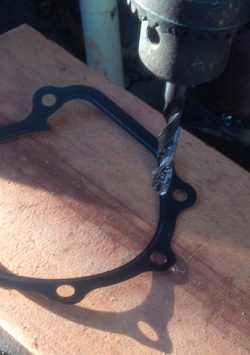
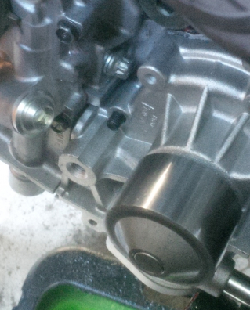
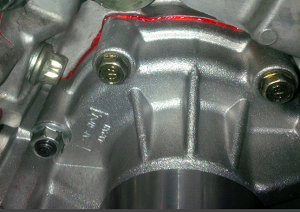
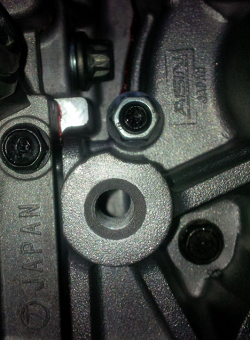
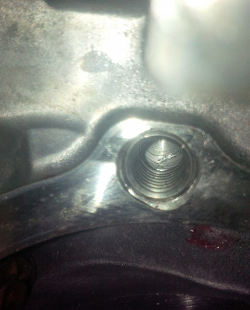
I did have a really fubar'ed hole on one block and went with a 12mm stud and 12mm nut. Retapped it to fit the 12mm stud. The water pump housing needed drilling slightly larger, but the fix saved an otherwise usable ej25 block. Luckily the hole was in the center of the pump and barely had enough room to fit the 12mm nut. I'm probably using the wrong terminology, but what I mean was the stud that normally fits in where a 12mm hex head bolt goes. Really not sure the actual size of the stud was, the nut was 12mm hex head. Dug through camera, still have pics
-
btw, the coolant crosspipe bolts love to strip too, I've had bolts strip or snap when trying to loosen. anywhere there are 10mm bolts in aluminum touching coolant are prone to corrosion and have weakened threads. a little late on water pump tips, but i've had good results swapping a 10mm bolt for a 10mm stud and nut on the water pump. it makes installing with the gasket a breeze. you have to grind down the stud beforehand so it doesn't protrude into the t-belt area, ask me how i know.
-
It sounds strange the the overflow only bubbles as you start releasing the cap. Did you get the right cap that allows excess pressure to overflow into the bottle, but also lets water suck back into the radiator after the engine gets cold? For subaru OEM caps, the ones with the tabs are for the overflow bottle, they have a one way valve for back flow. The fully circular ones are pressure release only, no back flow. Aftermarket ones you have to check carefully.
-
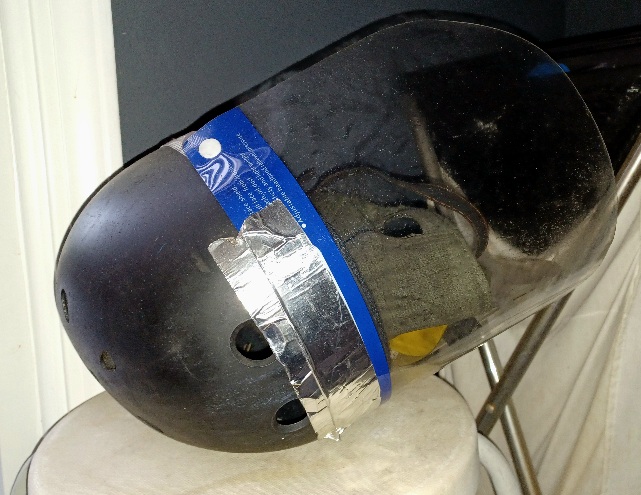
Doesn't look like there's room to get a torch properly in those legacy multilinks hubs, you'll probably make those bushings unhappy. They're 14mm bolts no? 1/2 in breaker bar and 1/2 socket good enough to loosen or break off bolts up to 17mm. Fun Btw, if you're ever under the car or working on your back, get a face shield.
-
You can do it in the driveway next spark plug change, a compression tester and a remote starter switch is all you need. Clamp the switch on the starter and press to spin it. The key doesn't even need to be in ignition and you don't have to deal with hassle of removing fuel pump relays. Do the clamping with the battery unplugged, you don't want the starter kicking in while you're reaching behind trying to clamp things.
-
If you've gotten most of the upper engine apart, might as well do a compression test. Not having blowby and suddenly having a lot of blowby might point to cracked piston ringlands. It's peace of mind to have it done anyways.
-
While you're there, swap out the metal oil inlet pipe for a braided steel one. Those lines eventually crack near the joints if you fiddle with them to swap turbos.
-
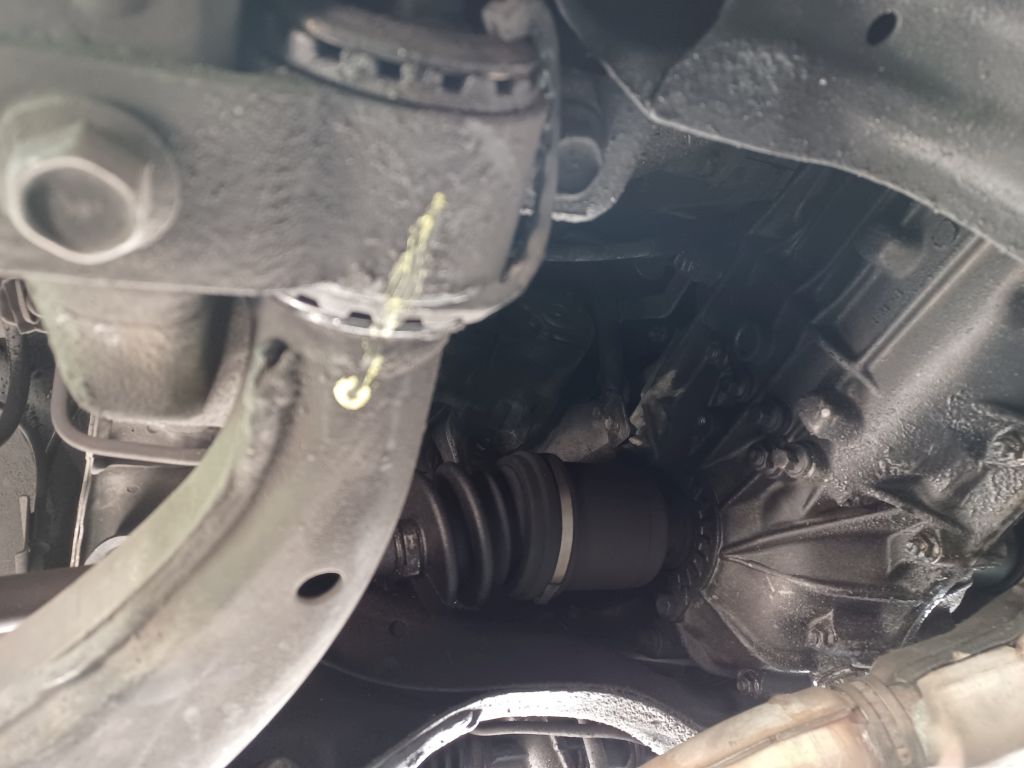
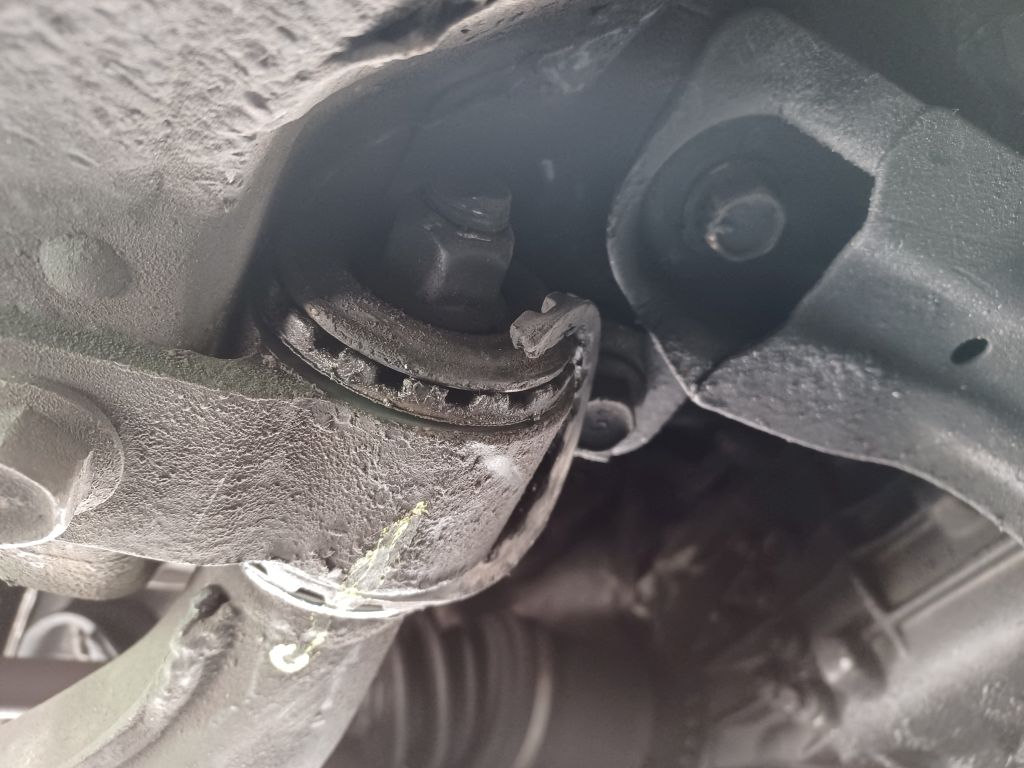
It's the big bushing with the ears. If you didn't loosen the huge nut, it could be put back on car as is. No need marking anything. If you did loosen the huge nut, put everything back on car loosely torqued. Load up the suspension, paint a line straight across the bushing to the arm. Take everything off and torque the big nut 180ftlb with the paint mark lined up. You can reassemble the rest pretty straight forward, and load up the suspension again to get the big bushing ears to line up to the chassis.


