-
Posts
205 -
Joined
-
Last visited
-
Days Won
5
Content Type
Profiles
Forums
Gallery
Store
Everything posted by Craigar
-

Water Pump has me confused...
Craigar replied to 92_rugby_subie's topic in Old Gen.: 80's GL/DL/XT/Loyales...
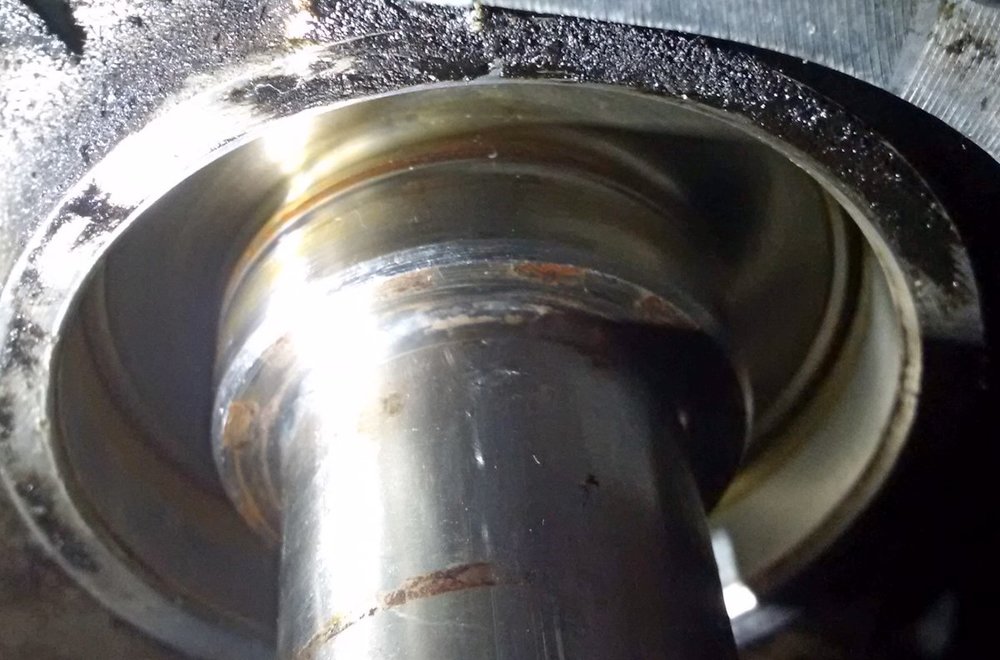
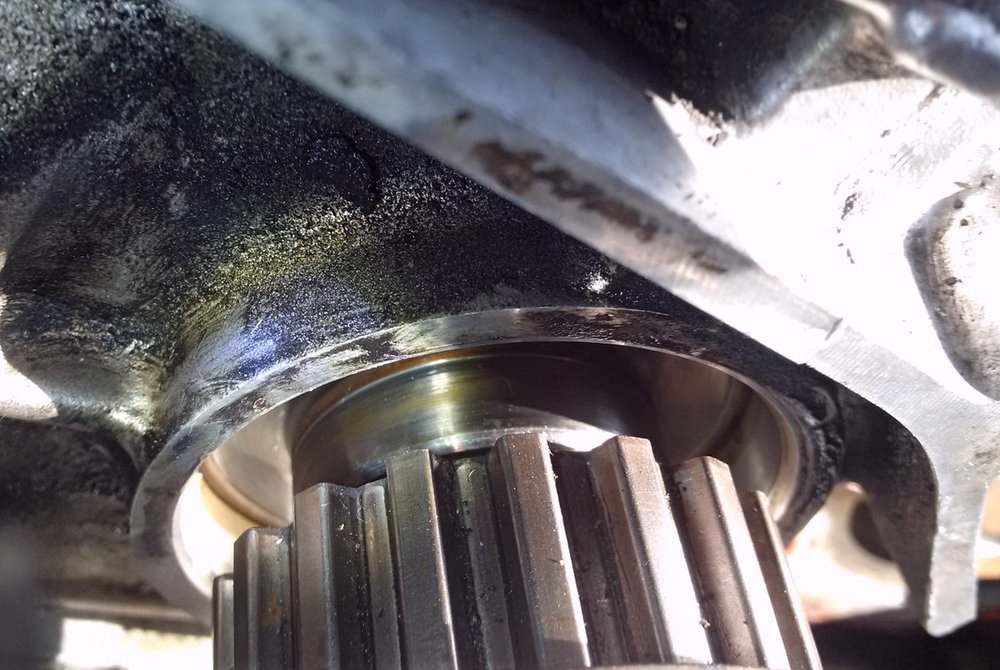
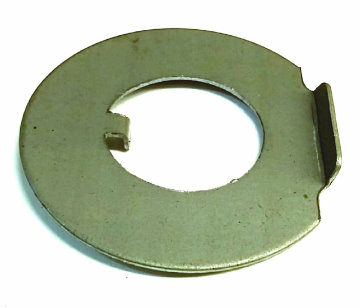
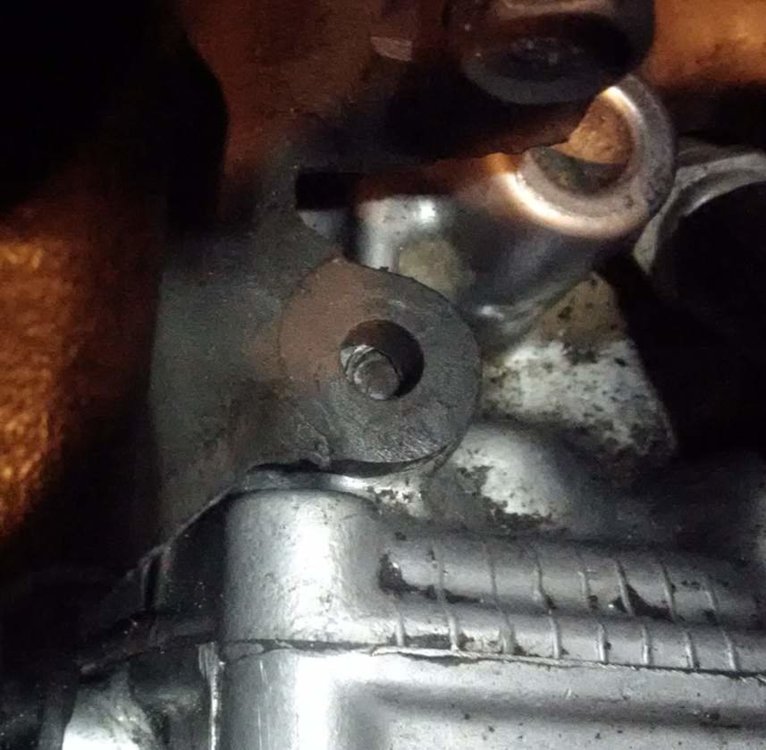
**** EDIT 8/16/2024 2am I measured this water pump and it is 110mm hub height, as stated @ Rock Auto. *** so it's not what my problem is, in fact a solution would be to pull/move this hub 5mm higher/forward for the it's pulley to align with the crank pulley .. So there might not be much value in the rest of this post except for the reference images showing the difference between the hub positions of the 110mm and the 105mm.. ========= Grrr, I bought what is supposed to be a "Dayco DP1081 Info Lobed Hub, Hub Height Approximately 4.320" +/- .020"; V-Belt Driven 110mm hub/deck height" from rockauto - and all 4 of their offerings are supposed to be 110mm ... Tomorrow all try to go over to where the car is and measure it.... like I should have the day it arrived.. BUT their pictures of the ones with 105MM hub height LOOKS LIKE THE HUB IS WAY FURTHER DOWN on the SHAFT.. So the one they sent me probably is a 110mm . https://www.rockauto.com/en/catalog/subaru,1994,loyale,1.8l+h4,1270178,cooling+system,water+pump,2208 and putting it all back together, installed radiator and put on my thin pulley (Hitachi inboard AC, non tubo) and it's sitting about 5 mm too close to the pump and doesn't line up with crankshaft pulley. Dayco DP1081 Info Lobed Hub, Hub Height Approximately 4.320" +/- .020"; V-Belt Driven below are a couple of images of Rock autos 105MM hub height (from 1988 GL) LOOKS LIKE THE HUB IS WAY FURTHER DOWN on the SHAFT?. https://www.rockauto.com/en/catalog/subaru,1988,gl,1.8l+h4,1268513,cooling+system,water+pump,2208 so maybe my crankshaft pulley is sitting too high or something weird - or maybe it's been this way ever since I bought the car in 2017 - OR I messed somthing up and flipped a crancksaft sprocket when I did the timing belts & water pump in 2019. My crankshaft pulley is pressing right up against the timing belt sprocket and is held on with one big bolt (no washer) torqued to 140 ft/lbs. BUT my timing belt sprocket on the crankshaft does seem to be sticking out bout his far from the end of the crankshaft. this is when I was doing the timing belts in 2019 so maybe I got crankshaft timing belt sprockets reversed or flipped - and it DOES look like they are sticking out about 5mm beyond the end of the crank? Backside of crankshaft pulley 20240809 Here's another great "zen art of Subaru maintenance" showing him pulling of these sprockets/gears.. both his "protection disks" are facing the crank https://youtu.be/QCnmC2gZahs?t=231 I'm pondering that I must have put the crankshaft timing belt sprockets in backwards when I did the timing belts & water pump in 2018 ... I noticed the gunked dried oil "teeth/notch marks" on the landing in the first pic below .. and in the 2nd pic the teeth are facing the crank's landing (it's probably wrong), in my pics above the "protection disk" that prevents the belt from coming off is facing the landing (on the crank) and that looks correct - but maybe each one is different and I stacked them backwards? this was probably the wrong way... and it was NOT reassembled (with teeth facing the engine) this way. otherwise I guess I need the THICK pulley, or maybe a short gear puller that can pull the hub forward and work just by pulling the radiator back out (to have enough room for woking the gear puller)? I've read about using washers and wish there was some kind of a single part spacer... I can't find this thick pulley here or digging around on the web.... I DON'T want to R & R this water pump. Thank you all -
Piss = yup ...let the games begin - and I noticed that it wasn't machined before I put it in but figured they knew what they were doing ... yea, they were "saving a buck!" at our expense.. well at least nothings in the way *maybe* I'll come up with a way do a bit of a poor mans polish BUT I'd have to pre stuff the hole with a rag and hope to get all the sanding dust out..... I'm in L.A. any easy way to get an "imperial" o-ring here - maybe Home Depot but almost all the little stuff there is from Asia...
-
They are stainless steel and used a locked washer and enough liquid wrench in the rusted threads to fake as anti seize I guess... I doubt I'll ever take this apart again if successful repair initially - considering getting a Soobie HEV (or maybe Toyota, Honda or KIA if too good of deal to pass up - and Toyota made all the electric power train parts in the Soobie HEV)
-
Whoah! yea I haven't got it finished, got/been waylaid with "acute viral bronchitis" as they proclaimed in the ER on July 7th ..that now seems to be past the viral stage but it's bad to where I'm rattling and can't get full air capaciity .. I think the hole for the pipe looks like a casting so I better deal with that before I go much further.. and I was getting ready to torque down the crankshaft pulley and noticed 3 "timing marks"that look factory installed, but no obvious way the the pulley is "keyed" to the crank? SO I don't want to torque it down until I know.. ? thanks!
-
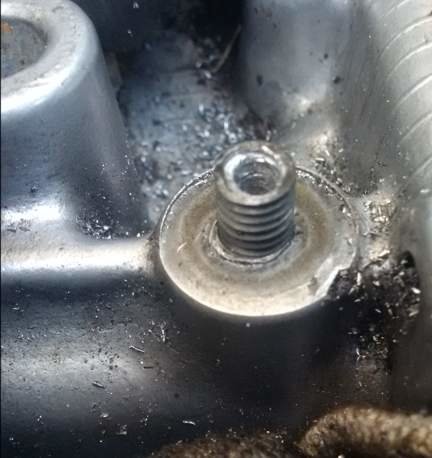
When I went to take out this upper left bolt it was feeling really tight, then "rubbery", then the head broke off ... I tried "liquid Wrench" with a nut on the end taping it a bunch with a hammer to "induce vibration" gripping it real tight with needle nose vice grips, etc. and letting it baste for a couple of days.. SO I thought maybe I could use it as a stud with a sleeve nut and it torqued down good. https://www.ultimatesubaru.org/forum/gallery/album/897-ea82-water-pump-broken-bolt-fix/
-
Thank You all, didn't have enough free time to hunt down a good Japanese one - and i do have a new looking GMB and it says "GMB Japan SUB13" but it has a stamped impeller so I went ahead with the Chinese Dayco for now. Now I'm going to look up a "simple way" I used to get the tension right on the timing belts that I came up with back in 2018 that seemed to validate the tension with the tools I have - cause the new belts I put in in 2018 seemed to have stretched and I have a 1/2" (1/4" in each direction) flex without any pressure i.e. I can wiggle it 1/2" inch with very little effort. https://www.ultimatesubaru.org/forum/topic/168064-more-haynes-manuer-says-get-slack-out-of-t-belt-by-putting-18-ft-lbs-torque-ccw-on-cam-sprocket-bolt-impossible/#comment-1392683 Thanks!
-
I replaced it in 11-2019 so I guess I ought a be happy, right? and I probably put on only 25k since then. The fan will wiggle easily a 1/4 inch.. I can/could still drive it but it sounds bad .. so I ordered this from Rock Auto cause it was cheap and closest shipping, it's a Dayco - are they "good"? https://www.rockauto.com/en/moreinfo.php?pk=11201329&cc=1270134&pt=2208&jsn=10922
-

Noise in left rear hub - brakes?
Craigar replied to KiwiBrumby's topic in Old Gen.: 80's GL/DL/XT/Loyales...
mine is also passenger rear drum .. . comes and goes about 19 stops no noise to 1 stop with noise stops fine (if I remember to step on the brake pedal) -
meanwhile, back at the ranch...
-
I'm in a state of serious *suspense* waiting for the outcome to this chase scene (or conundrum)?
-

accidently poured 1 oz. of 5-20W oil in 3AT trannie
Craigar replied to Craigar's topic in Old Gen.: 80's GL/DL/XT/Loyales...
Yea, I was really concerned cause I was under the "mental delusion" that ATF was "vegetable oil" based but if their both petroleum based than, the viscosity is probably the main issue - I'm glad it was 5-20W rather than straight 40 weight - also I'm in L.A. so it never gets much below 40 degrees (so far - this was a noticeably colder winter..) Never had any shifting problems, just wish the 3AT had a 4th gear - but I put taller tires on and that helped (does 55mph at 3250rpm) Thank You -
Really is a "farm tractor" quality & ease of maintenance motor - I heard this motor (maybe EA81) back in 1985 in a Fuji Forklift! really dug the way it sounds - kinda like a pair of harleys with more time between the pair of thumps (Harley maybe 40 degrees between power strokes and 180 on these ) especially if listening off to one side. Crazyeights - you are courageous, if you have SPFI (like mine) their single port intake heads (for pair of cylinders), so I think you gotta replace the heads.. and that makes it easy to do a whole top end rebuild!
-
Thank you all you great guys out here on USMB - I couldn't have done it right with out you - probably would have messed it up. I wasn't ticking too bad, but now ZERO - and super quite overall! Also did water pump, hoses and seal on metal pipe that goes into pump. Sealed up some cracks in my air intake snorkel with RTV, fixed anything I found along the way and now it's super quite and smooth. No "bubbles and water fall" sounds coming out of coolant system. No scary stuff with the temperature almost going into danger before thermostat opens. Im pretty sure the last couple of days before the belt broke it had lost at least a tooth and jumped a tooth cause it was feeling out of balance when idling - that's the main reason I kind of why I thought it might be a waste doing this job - and I REALLY didn't want to tear it all the way down, I would have sold it or junked it. It really feels like I have a brand new rebuilt motor! To me it's amazing there is such a difference. AND NO OIL DRIPPING (yet) all over the bottom of the timing belts, which would spread into the exhaust pipe and start burning & smoking if on the freeway very long! It's almost like a dream... Thanks again
-
Here was my broken AC mount bolt https://www.ultimatesubaru.org/forum/topic/168114-ea82-one-broken-off-bolt-in-top-of-head-that-ac-mounts-onto-is-it-important/ 1st Liquid wench, then followed suggestion here & got left handed drills, drilled a small hole about 1/2 inch deep - but the next one LH in the $12 set was too big so got a right handed drill 2 sizes larger and cocked drill motor to the right to compensate for previous hole being a little too far to the right - started slow and "all the sudden it looked like bolt HAD GONE IN FURTHER -about 1 turn.. stopped & got a steak knife, stuck it in my now chamfered looking hole, twisted CCW and it backed out!
-
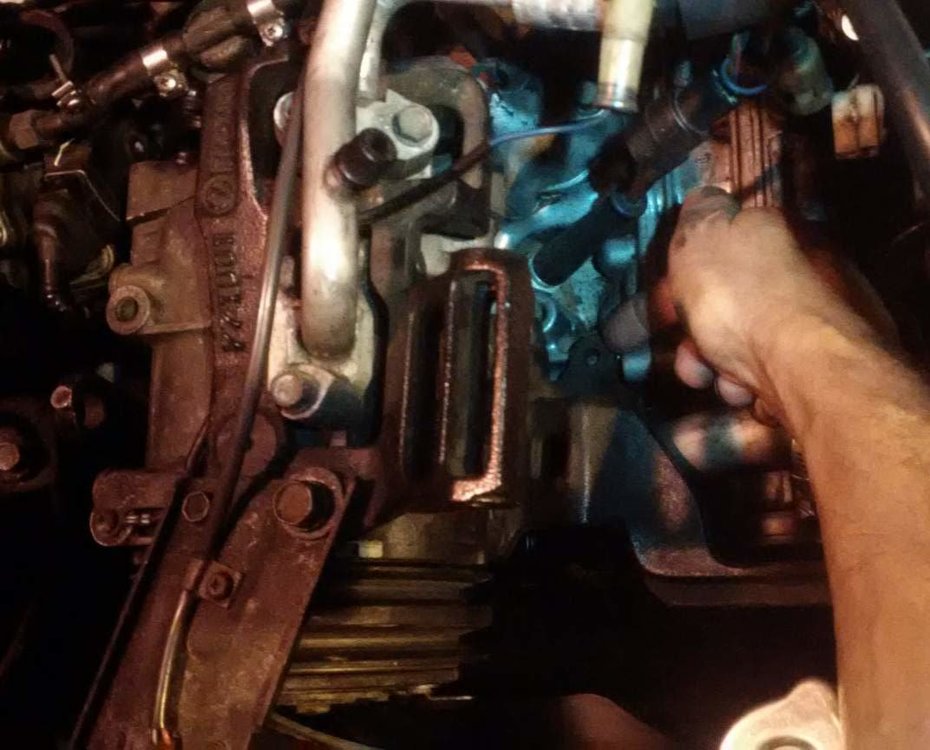
The AC on this car hasn't worked anyways (and I'm in L.A. so not too hot (yet) ) and it felt solid even with this broke off bolt (level with the head) before moving the AC & its bracket out of the way to do the timing belts & front seals. Maybe this bolt doesn't matter unless I'm going to be off-road and doing cartwheels (don't have any bolts holding my battery either). should I try to get it out & put in a new bolt - or try something crazy like drilling a smaller hole in the center of this broken bolt and tapping it & use a smaller bolt - or forget about it ? Any other ideas welcome also - of course I could/maybe should remove the entire AC & run smaller belts? slid unbolted AC over about 1/4 inch for clarity
-
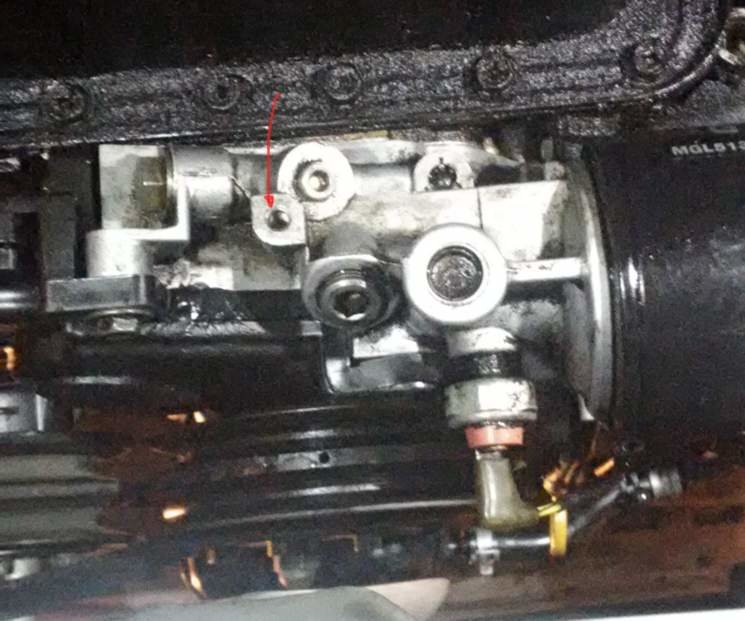
figured if anybody would know, you had too thanks! Do you have - OR ANYBODY? have an image of this shield , and is it important? Speaking of "shields and covers" I'm missing my "bottom center piece of timing cover according to FSM & Haynes manual exploded drawing - there is at least 1 bolt hole in the bottom of the oil pump housing for it from what I can see, here's image from underneath & arrow pointing to bolt hole. Seems like it would be good to protect this area?
-
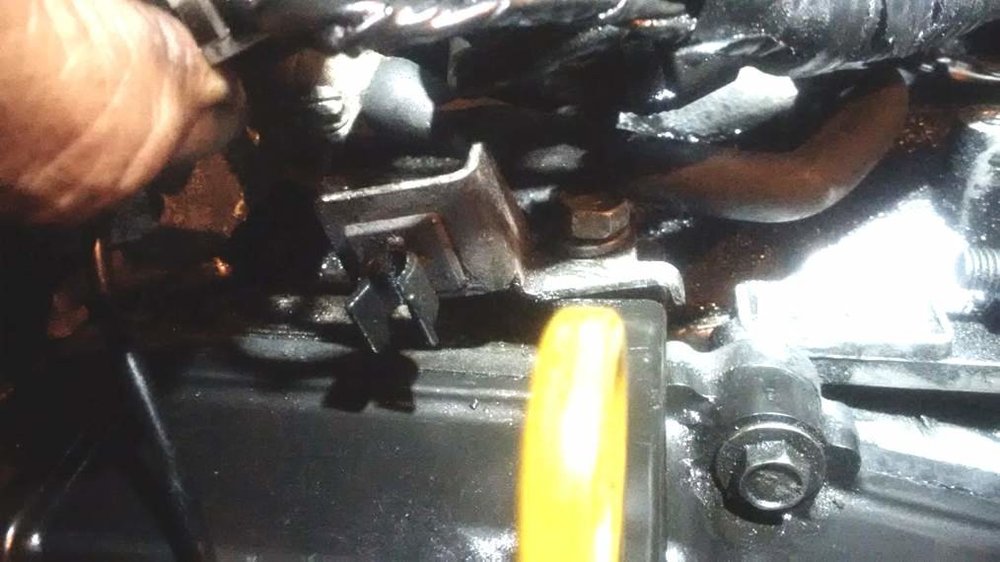
I think its original/stock cause its stamped from a punch "die" and fits perfectly over the dipstick tube's plate that goes under this bolt. I'm thinking maybe a version of Loyale has real oil pressure GAUGE sensor which might have a PAIR of wires - I only have an on/off "idiot" light on the dash with a single wire going to this sensor (down by the oil pump). Thank you
-
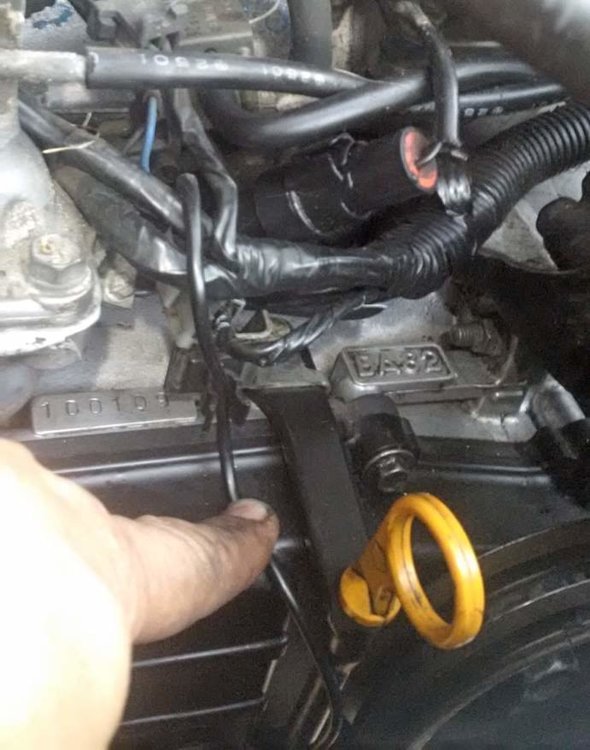
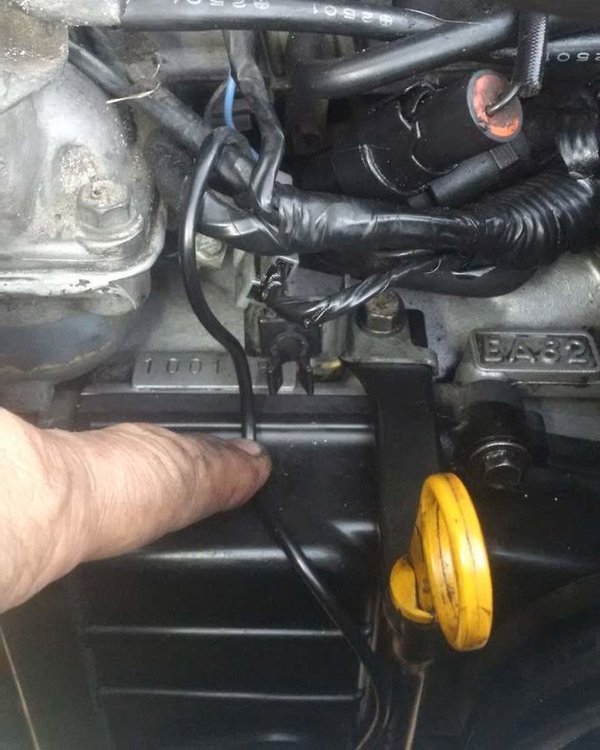
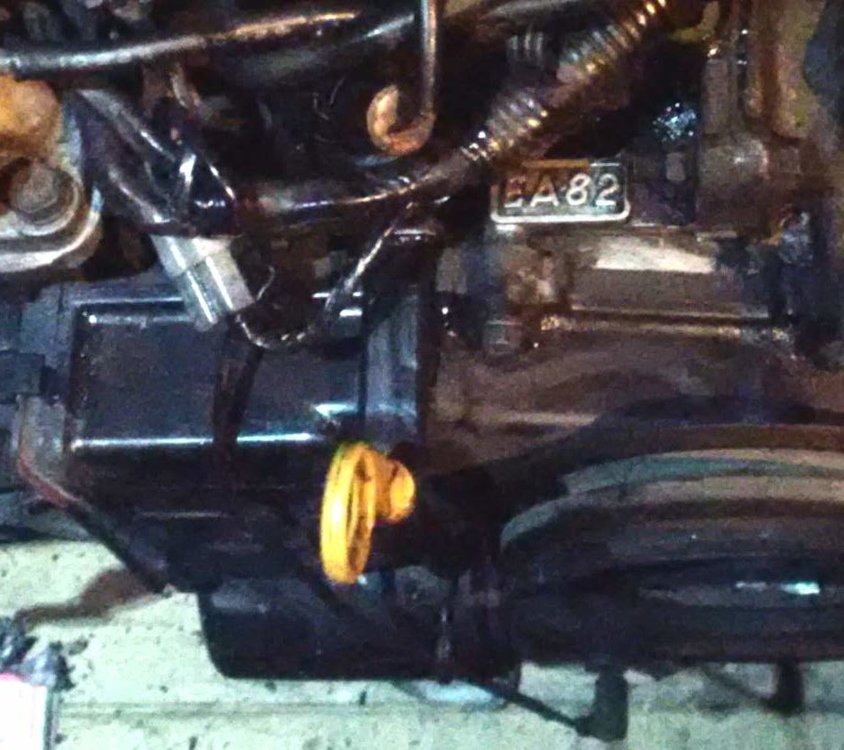
Man I feel stupid, and I even took a couple of (crappy night) pictures of this prior to disassembly but maybe already removed the wiring - or vacuum hose, - IF there was actually anything in the plastic "mount" > i also see a locking twist "tie down" down by the bottom of the dipstick tube that has, which seems obvious that it must be for oil pressure wire. I also thought/think this one here might be but it looks like it's for 1/4 inch whatever - and the oil pressure wire is only 1/8" so it will "fall out". Here'se holding the oil pressure wire in it (crappy night) picture of this prior to disassembly - of course view of clamp is blocked by other wiring seems like it must be important, took a lot of work to make the tooling to produce the metal mount.


