-
Posts
240 -
Joined
-
Last visited
-
Days Won
6
Content Type
Profiles
Forums
Gallery
Store
Everything posted by Mitchy
-
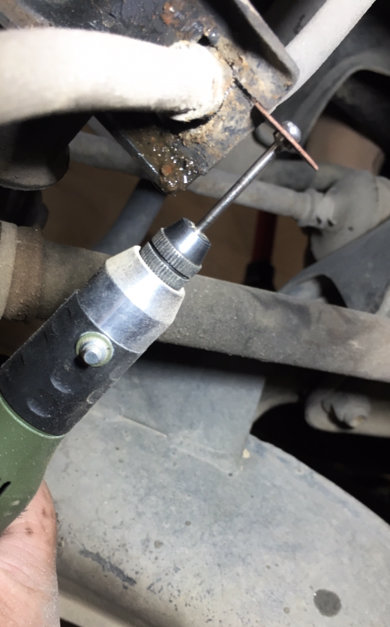
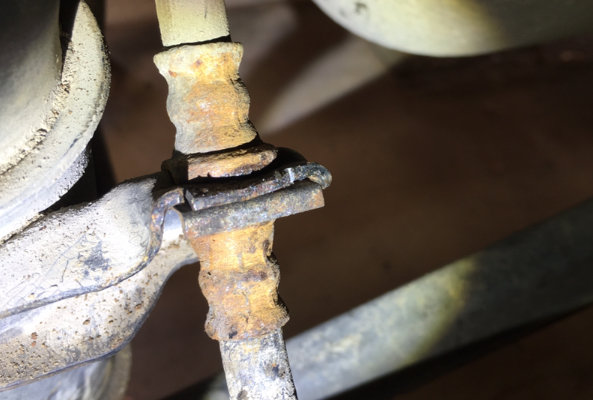
I cut the brake hose brackets with this little thing. I use the wheel nut wrench from the tool kit to loosen and tighten the lower strut bolts. I also use a long cheater bar.
-
That’s quite a task you got yourself into. Pulling and reinstalling a dash is probably the job I would least enjoy. well done! I peeled all the liitle dash bulbs of their blue ‘skin’ on the forester once, as I had to replace two fried bulbs and didn’t know about the blue tint on the existing ones until I pulled the dash apart. The green dials became a warm pale muddy colour. Not green any more.
- 21 replies
-
- 1
-

-
- BRAT
- Brumby EA81
-
(and 1 more)
Tagged with:
-
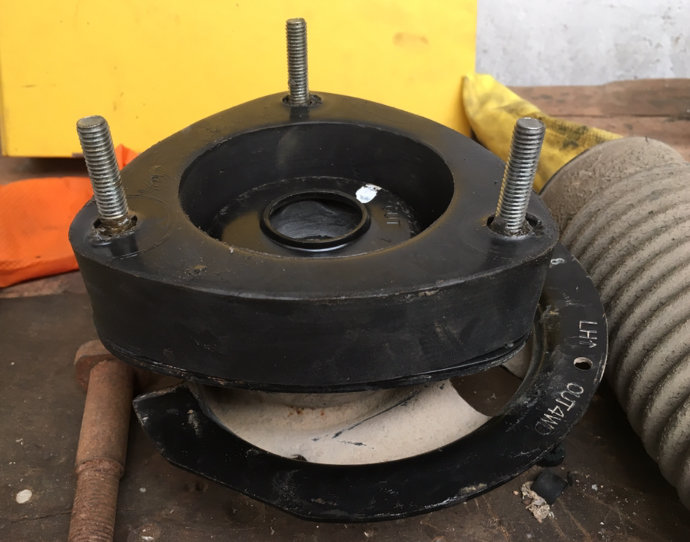
Paint marks on the strut bottom, rubber seat, spring, top seat and strut top really helps with reassembly. Here is the 30mm spacer going on: Don’t forget to flip that cut tab back up and grease the clip: Not a huge difference at the rear, but it will help clear those rocks on our ‘camino’. Tomorrow I will get on with the fronts.
-
I have been making the most of time off between jobs, and today I finally got the rear struts out and lengthened, and mounted again! Tomorrow I hope to repeat with the fronts. Rear seats out, to gain some access to the top nuts, still tricky to access! Then cut the brake hose brackets, as I have no need to bleed the brakes yet. No big problems, the hdpe spacers went on with no trouble, and it went back together quite quickly and smoothly. The second strut definitely took half as long as the first, of course!
-
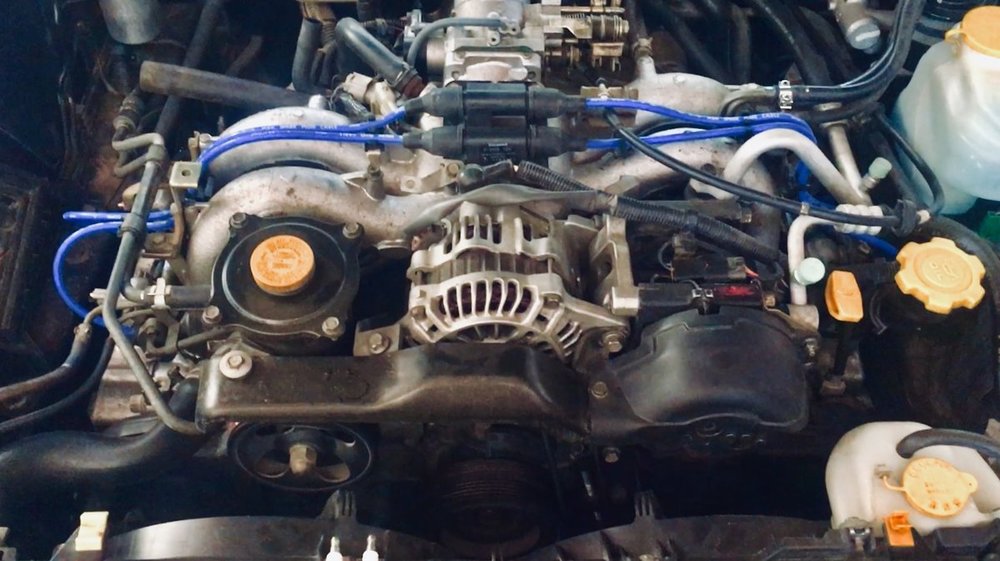
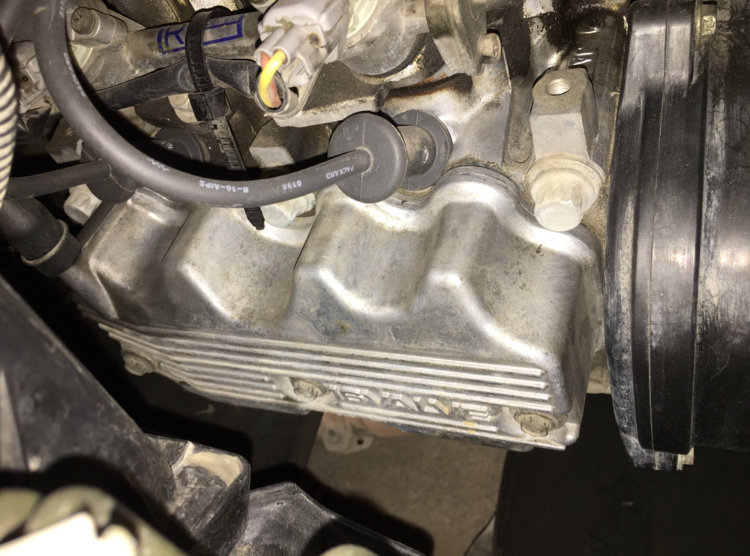
Now that the repairs are done, I made the time to put the new plugs in too. NGK plugs and cables. Old plugs look great, but I don’t know how old they are. The old cables were the original Packards. Small investment.
-
Our 99 Forester has these too. that heavy tailgate needs help to centre itself and also to stop when closing. The tailgate itself adds structural stiffness to the unibody when shut. These bumpers would appear to help hold it tight. I have noticed this when opening and closing the tailgate on very uneven ground, it is stiffer in opening and will not close so easily!
-
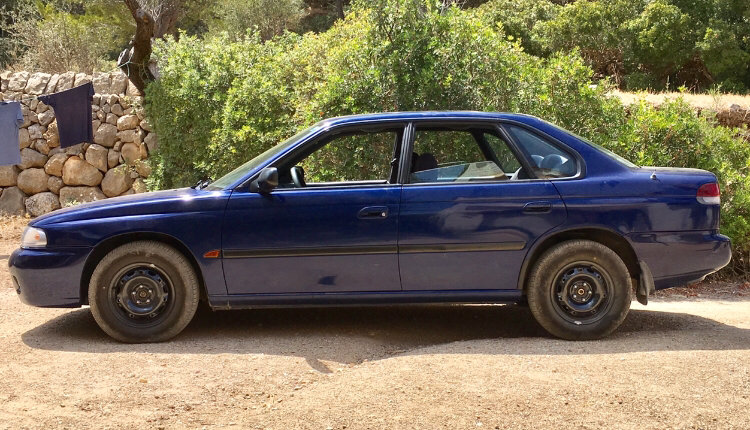
Yup Its a peach and I will miss it. I was out and about in it yesterday, as the Legacy was spurting grease.... It is a bit frantic, it is basic, it buzzes angrily, and it encourages you to drive flat out. In comparison, the Legacy, though relatively basic, flies, has a low boxer grumble at any speed, and is so darn comfortable. I think it gives me better mileage too. plus it has frameless glass.
-
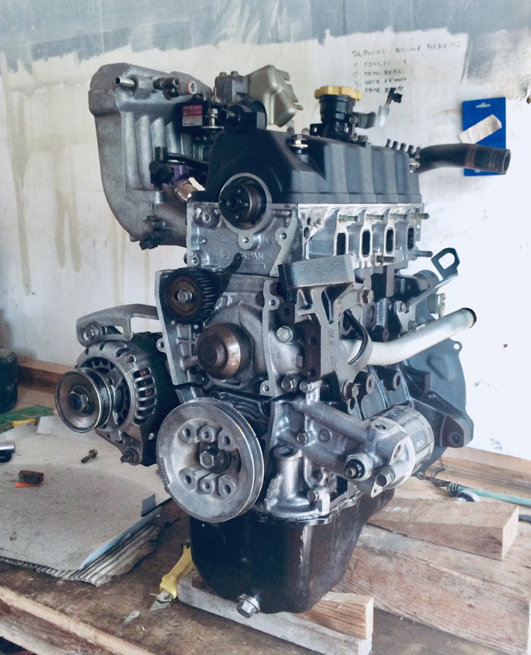
I have done my fair share to get it as good as possible... Clean-up for the sale: Engine full rebuild last year, doesn’t look like any scoob engine I worked on before! Subaru’s EN07E, ‘Clover’ 658cc (40 cu.in), 4 cylinder power pack: Refitted and run-in:
-
-
-
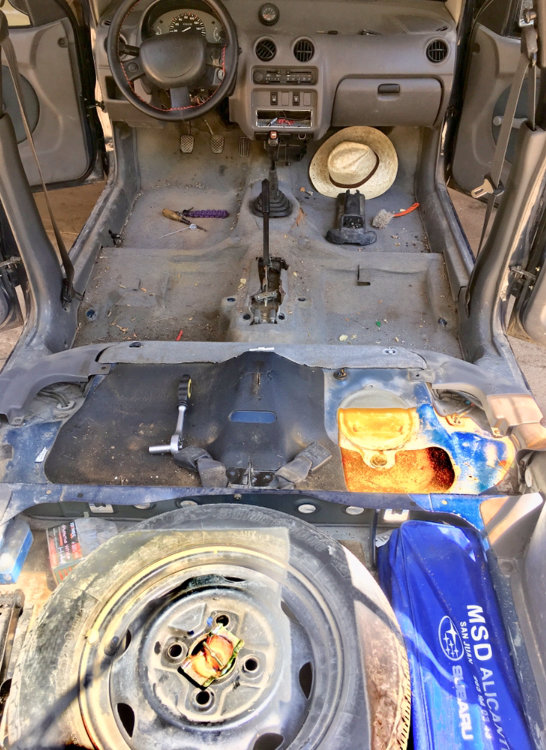
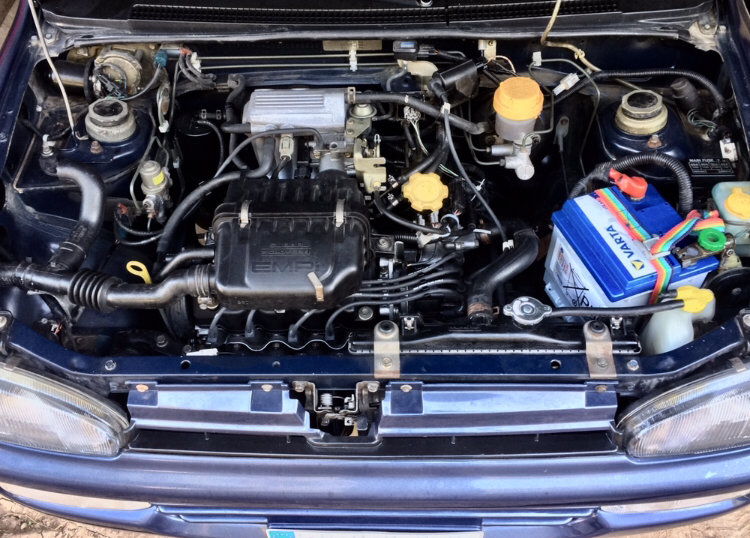
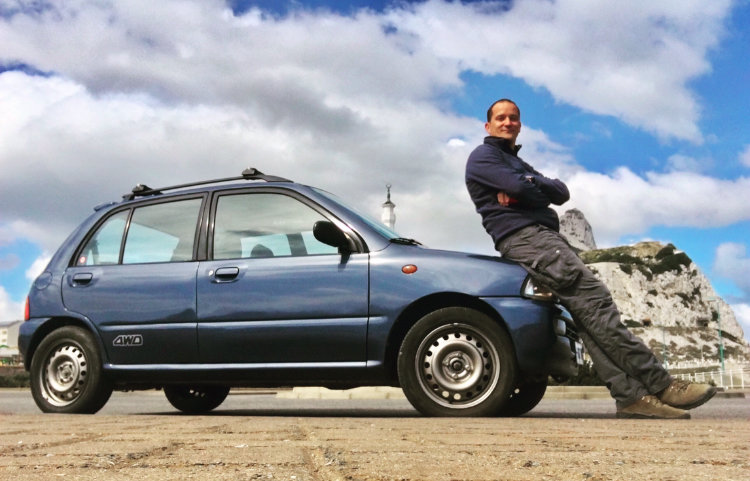
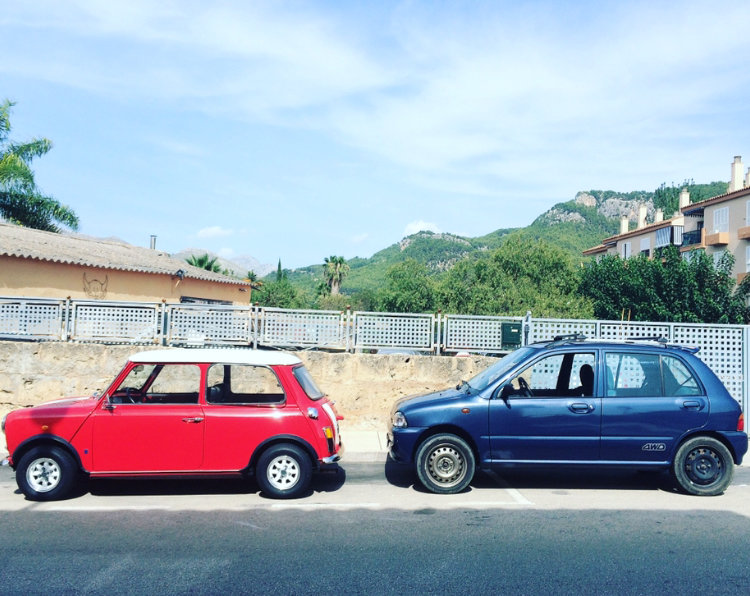
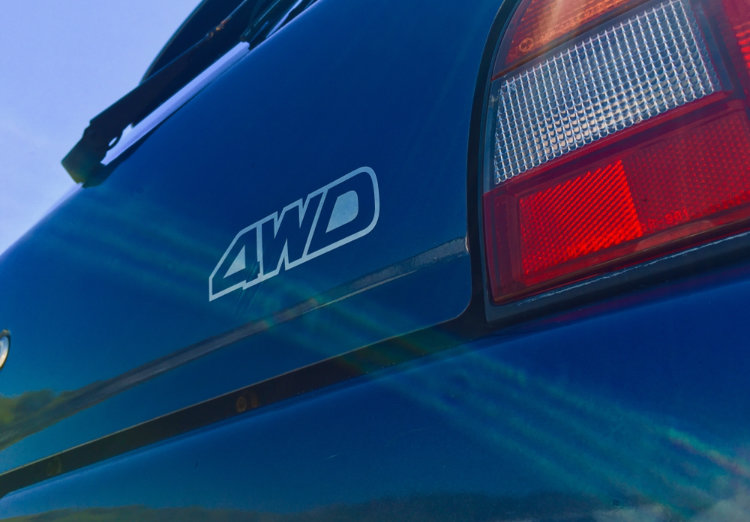
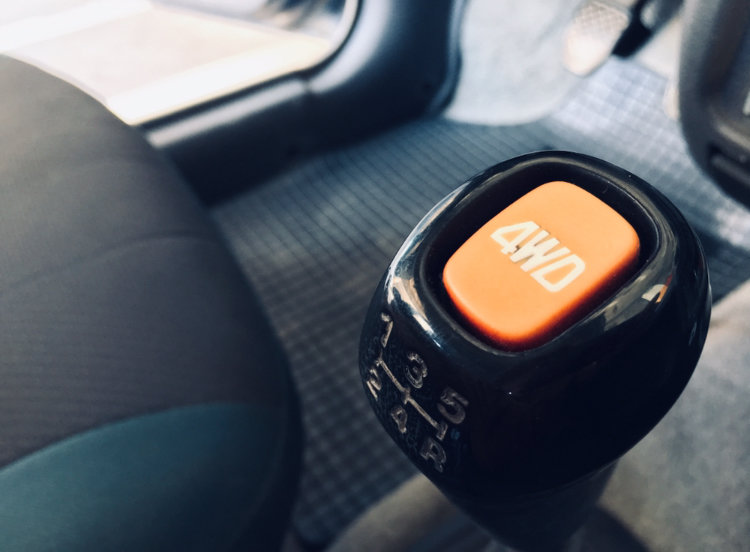
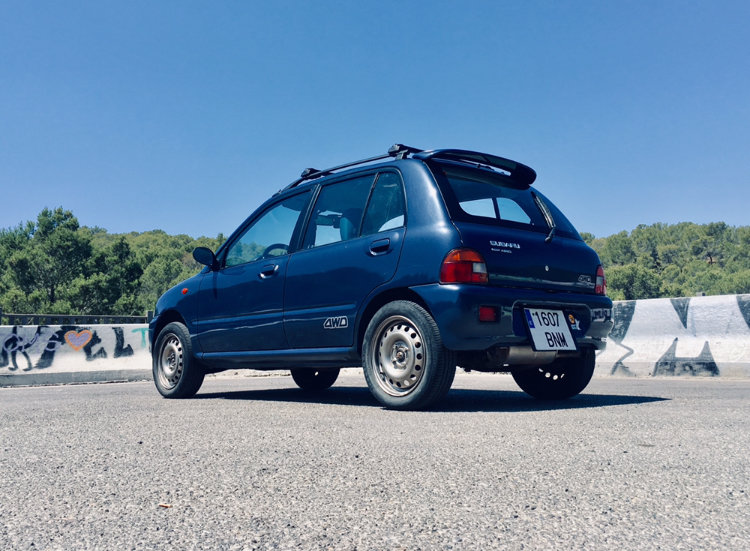
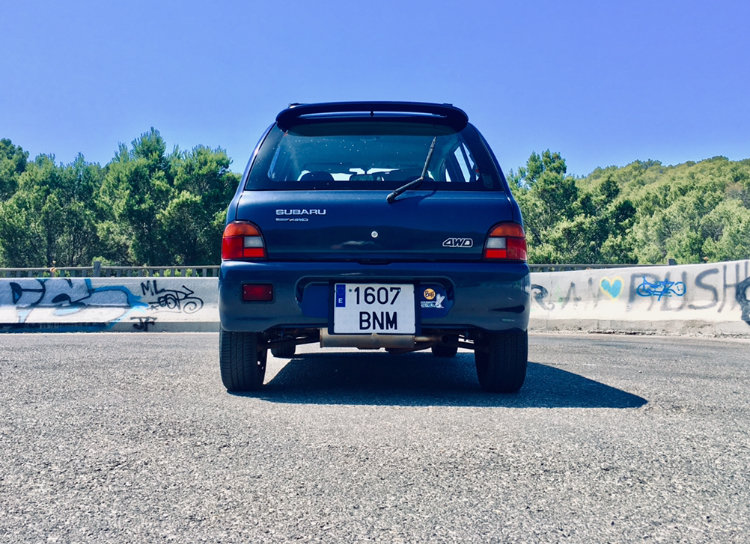
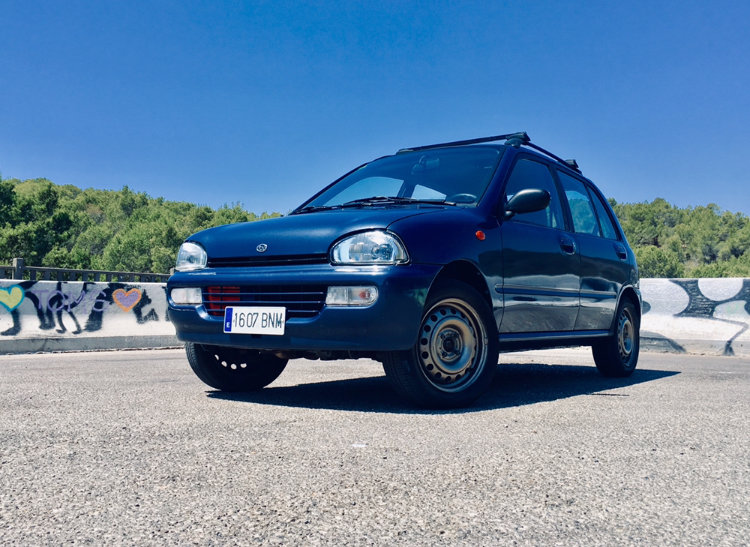
I once posted this car under another username, which I shall presently delete! I bought this car two years ago to complement the hard working Forester, as a daily transport to work, shopping trolley without the kids etc. Like many, I did not know this model existed until I saw it advertised. So I bought it, as at the time I was after a Fiat Panda 4x4, which now sell for silly, silly money. This was a bargain compared, and sporting the Subaru badge, how could I resist? 660cc, EMPi, 5MT, front wheel drive or selectable 4WD at the push of a button. No centre diff, so not full-time AWD. 8000+rpm, what is not to love? Five doors, and it is tiny! But I fit comfortably. However, now that I discovered my Legacy BD7, the little beast must go to a new home, so here are some photos I took for the sale: Even the number plate is kind of special (in Spain a new car gets its new number and that number dies forever when the car dies...no transfers, no ownership): 1607 BNM 16 =4x4 0.7 litre BNM = my name is BEN M. Kind of special, anyway!
-
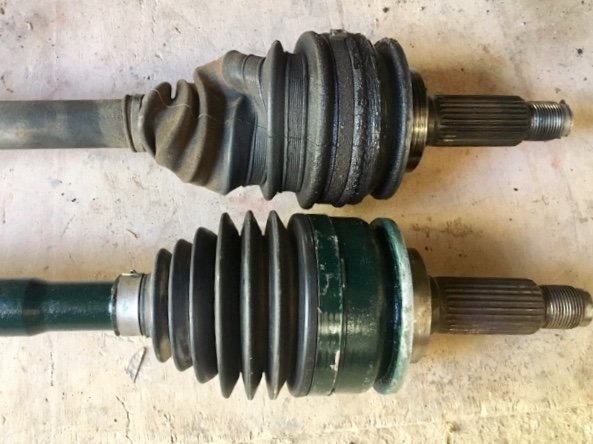
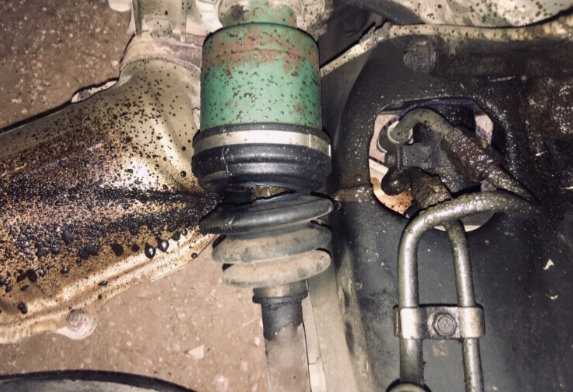
Quick comparison between the old ‘97 Legacy axleshaft and the ‘99 Forester’s donated and renovated shaft. The shafts are different, the Forester’s has a thicker shank, chamfered-out from the inner boot. All else appears to be the same, phew!..... -There is a good reason not to use ‘universal fit’ aftermarket boots and plastic cable ties.... the top joint had lost most of its grease at the wide end of the boot, coating the knuckle, control arm and brake cylinder housing. Well done you...... That’s also a reason that I don’t pay local “mechanics” do do my dirty work. I have seen enough botch jobs due to lack of knowledge or laziness, I don’t trust them further than I can throw them. So it is now installed and rolling nicely, 2 hours of taking it easy, cleaning up the grease spurts, and having a good look around. How much does this job cost? 25€ for the boot kit. And I did it before breakfast! I reckon the previous poor repair cost 10 times as much. ——The worst part was manoeuvring the control arm to reinsert the ball joint, until I remembered to loosen the ARB slightly on the chassis and pop out the drop link from the control arm. Duh, Then it just found the hole.- Just remember to let the car down again on its wheels to re-tighten the ARB bolts!—— To disassemble the control arm from the balljoint I used the old trick of first loosening the castle nut a few turns, jacking up the knuckle (on the bottom outside edge of the brake disc with a wooden pad and the brakes engaged), placing packing (a non-valuable steel thingy) snugly between the knuckle and control arm, without squishing the balljoint rubber, and releasing the jack. If the metal packing thingy is the right size, it always pops out for me. So satisfying! No penetrating oil, nothing. Rusty cars may be different! No smashing or mashing with pickleforks either, I hate whacking my parts with hammers.
-
Totally agree, I replaced the Forester with a Gates timing kit soon after buying the car. That was the Gates kit with 100% SKF japanese parts. I have found a well-priced SKF kit with water pump for the Legacy.
-
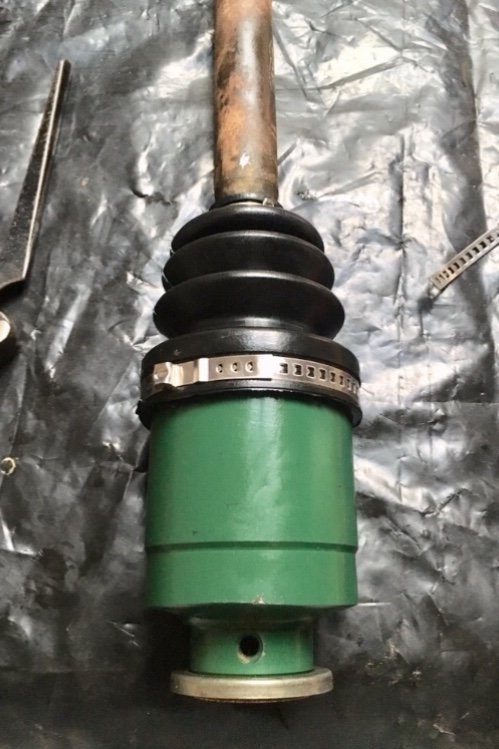
@idosubaru This now-repaired driveshaft was from our Forester, which I removed and foolishly replaced with aftermarket about four years ago, and I stored the original ‘as is’. As I had not cleaned it it still had the same dirty brown grease in the tri-pot. This time I decided it should be properly cleaned and re-greased, therefore I took EVERYTHING apart. I think it is necessary if the grease is known to be contaminated, plus solvents used to clean the exterior will undoubtedly get in between the needles and dilute the old grease. Looks good, but the old contaminated grease inside is not reliable: Each of the three bearing assemblies on the tri-pot has a snap ring holding it in place. When this is removed, the bearing components just slide/fall out, depending on whether you expect it. I blindly followed the Haynes advice (no snap rings holding the bearings on their model Outback), it was no big deal to remove and reinstall the needles. One bearing at a time, check positions of races first, etc. Just slide them in, one by one. At least I know they are freshly greased inside there! They roll much, much firmer than before, a good thing. This repaired Forester one is going on the Legacy and then I can repair the newly-split Legacy one and put that on the Forester, as the 90$ aftermarket replacement is now split, clicking and creaking after just four years. I love having two cars with interchangeable parts!! Thanks for the information on timing parts. According to a sticker on the engine the belt was changed only 30k miles ago, I have not looked but I would assume that pulleys and tensioner are original, now at 90k miles. I should get that done asap! @el_freddo Yup that hot area above the exhaust is a problem. I was considering putting some large O rings in the pleats of the boot to protect it a little more. I didn’t, but I might try it on the Forry. Its probably a terrible idea. Thanks!
-
Aaargh! cv boot split and spit- grease everywhere! luckily I caught it early on. I then noticed that the cheapo outer boot on the same axle is severely deformed and leaking too. I fished out one of the Forester’s original shafts which had the same inner boot split, and a good outer. Back in the day I just replaced it with a cheap aftermarket axle. A mistake, but that is another story.... Forester axle rescued from the shelf: I never restored a driveshaft before, so taking apart the tri-pot, cleaning and rebuilding without mixing up parts was fun... 3x 30 needle rollers: but no big disasters, one minor stab wound and I have a shiny new cv joint to go back on:
-
I have been following topics on heads, headers, single and dual-ports, interference or not, etc etc I have noticed that the USDM EJ22s from 95 on would have single port heads, coinciding with the start of the interference engines too. Is that correct? Whilst my Fuji-built EDM Legacy from 96-97 would ‘appear’ to have the interference NA EJ22 (eg. solid valve tappets- I haven’t actually checked that yet), it does however have dual exhaust ports. What other differences can we find? The heads and headers on the 96-97 EDM NA EJ22:
-
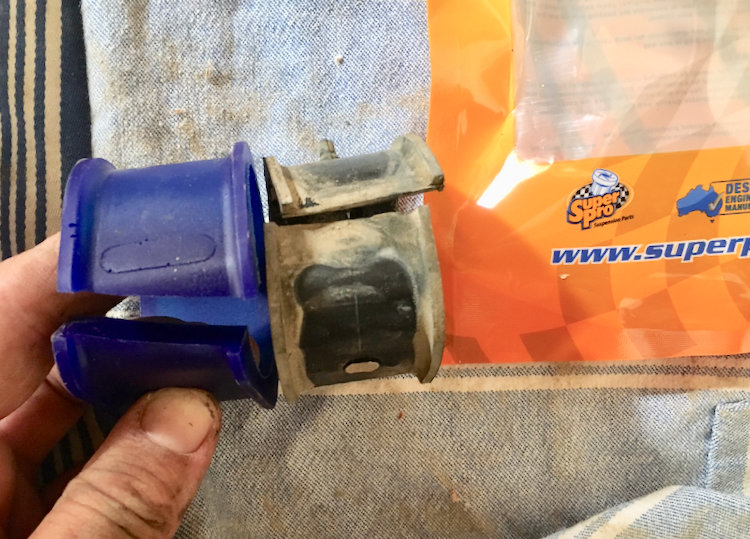
I have just washed my hands after the surprisingly quick and easy steering rack bushing renewal. The hammering ‘click-clack’ has gone, now with blue ‘Superpro’ PU bushings installed. The steering rack is much more snug now, with negligible lateral movement. I was fearing this job as I had heard stories of hours spent cussing under the car.... not so; just loosen the steering shaft pinch bolt first and undo the rack bolts - down she comes. You do not even have to disconnect the steering shaft, just let it slip that cm or so down its splines. I had to deflect the defiant PS hoses to let the brackets out, but the bushing just slipped into place on both sides, no grease, just a little cajoling with a wooden dowel to push the pinion side bushing over the top of the rack. 25 minutes wheels-up to wheels-down. **Rusty cars may need longer.** easy peasy. Test drive to come. After the test drive: As hoped, the steering has crisped-up, with no negative effects such as increased NVH etc.
-
....And for that SUS off road style I have just discovered and bought these genuine new splash guards. Super-chuffed!! They are the longer, more funcional flaps, rather than the stubbier ‘aero’ ones. The rears come from the UK, 45euros or 50$ delivered to Spain. A bit more expensive than I’d like.... The fronts I discovered on a Polish auction site after searching the part number; 20€ delivered!!! I don’t speak polish so I hope I did OK... That has to be cheaper than anywhere else for new old stock parts in their box!!!! -evens up nicely for the expensive uk ones. I previously tried some universal-fit ebay flaps, but they were deformed, and they deformed more when I tried to fit them to the car, so they went straight back to the supplier. I can’t wait to get these on the car...
-
Today I bought: New NGK plugs and cables Genuine thermostat Superpro steering gearbox bushings Gates rad top hose Genuine clutch lever dust boot And idler and pulley bearings for the air con...


